Run the workflow
To run the workflow we need to configure it.
You will then need to edit the configuration to set up your job. Start by making
a copy of the rose-suite.conf.example file called rose-suite.conf. This
needs further amendments, which are done using rose edit, a GUI configuration
tool. Within rose edit go through the sections under “suite conf” and fill in
the config.
# Copy the example configuration.
cp rose-suite.conf.example rose-suite.conf
# Edit rose-suite.conf with the rose edit GUI.
rose edit &
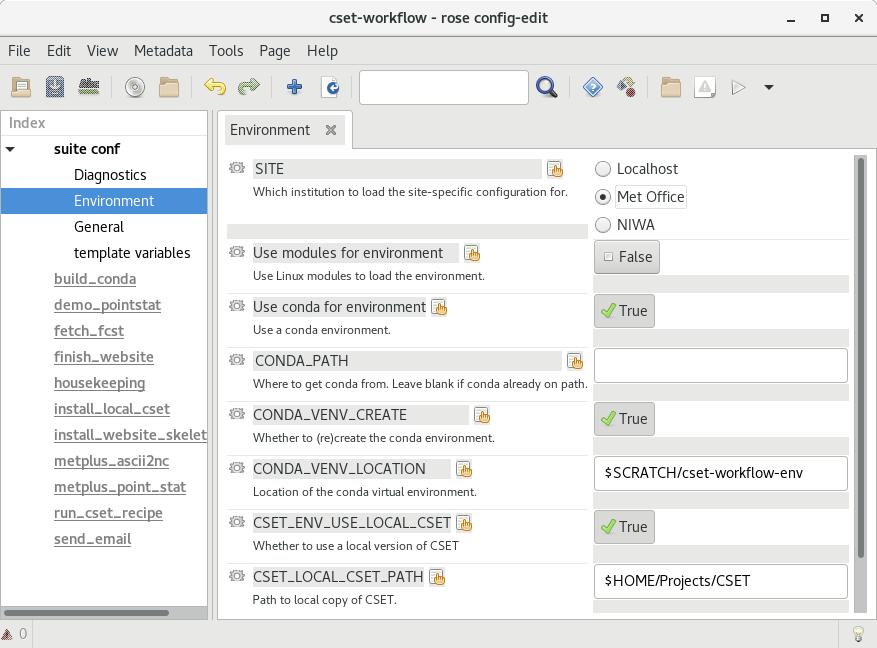
The General setup options section contains settings for controlling how CSET integrates with your compute environment and whole-workflow configuration for things like logging and housekeeping. This includes things like activating modules, and choosing a site profile.
The Cycling and Model options section contains settings for the input data. Here you need to setup how you want to cycle (over case studies or a trial period), how many models you want, and where to find the data for them.
The Diagnostic options section contains settings for enabling the various diagnostics included with CSET. The diagnostics are split into science areas. Some general diagnostics will have a list in their section for setting which model fields to process. Diagnostics may also take additional options after being enabled.
Help text for each variable can be viewed by clicking on the variable’s name. Once you have configured CSET you can save and close rose edit.
To run the workflow, use cylc vip. You can view the job’s progress with the
cylc GUI, accessible with the command cylc gui.
# Run workflow from the current working directory.
cylc vip .
# Monitor workflow progress.
cylc gui
Once CSET has finished running you will receive an email containing a link to the output page.