

Beginning a Github Development#
This section will guide you through the development process assuming you are already authorised with GitHub (Setting Up Github Authorisations) and have already created a fork (Creating and Managing Forks).
Create an Issue#
An issue in GitHub can be used to document a new feature, bug, or other problem in the codebase. There are issue templates provided to help capture all the relevant information in each case.
They are also the main place to document the development process of a change. Sub-issues can be created if a large piece of work wants breaking down into smaller sections. If you are working on an issue, then assign yourself to it so that others know that you are working on it. Issues are created in the upstream repository.
Before Opening an Issue
Are you using the latest version? If not, please update to the latest stable release and verify the issue persists.
Is this a security issue? Please do not file a public issue for security vulnerabilities, but get in touch with the SSD team directly.
Is this a duplicate? Add a comment or an emoji reaction to the original issue rather than opening a new one.
Is this a support request? Questions should be asked via the simulation-systems discussion boards where we’ll be happy to try and help.
Important
It is not guaranteed that opening an issue will result in action or even visibility by the relevant maintainers or code owners. If you think a team or individual should be aware of an issue, then contact them directly in addition to opening an issue.
Navigate to the Issues tab for the relevant upstream repo and
select the New Issue. Write an suitable title and description, and
use the options on the right as desired/appropriate.


The following command can be used to create an issue from the command line. The available options can be seen in the gh cli documentation.
gh issue create -R <OWNER>/<REPO> [options]
There is no requirement to open an issue before making a pull request, as long as the change documentation is sufficient. For instance, small changes may not benefit from the separate issue.
Clone the Repository#
A clone is a local copy of a repository - you can have a local clone of either
an upstream repository or a fork. A clone will have an active branch which
will initially be the default branch of the repository. All other branches in
the repository can be accessed using the switch command (see below). For
general development, you should now get a clone of your fork.
Tip
For those familiar with svn/fcm, a clone is the git equivalent to a working copy. However, unlike a working copy, which can only access a single branch, a clone can be switched to any branch in the repository.
To clone a repository using gh cli run the following command,
gh repo clone <OWNER>/<REPO> <CLONE_NAME>
where CLONE_NAME is the desired directory name of the clone. It
will default to the name of the repository.
Tip
Using gh cli to clone a fork will automatically add the upstream repository as a remote source which can be helpful.
To clone a repository using git, run the following in a terminal:
git clone <URL> <CLONE_NAME>
where CLONE_NAME is the desired directory name of the clone. It
will default to the name of the repository.
The URL can be found from GitHub,
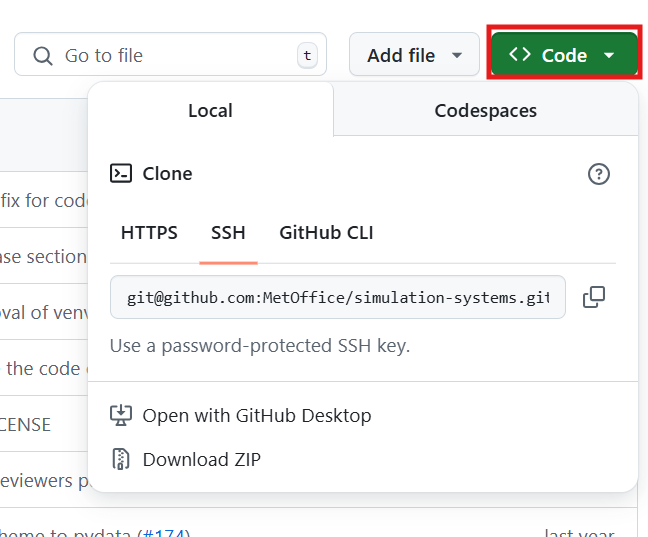
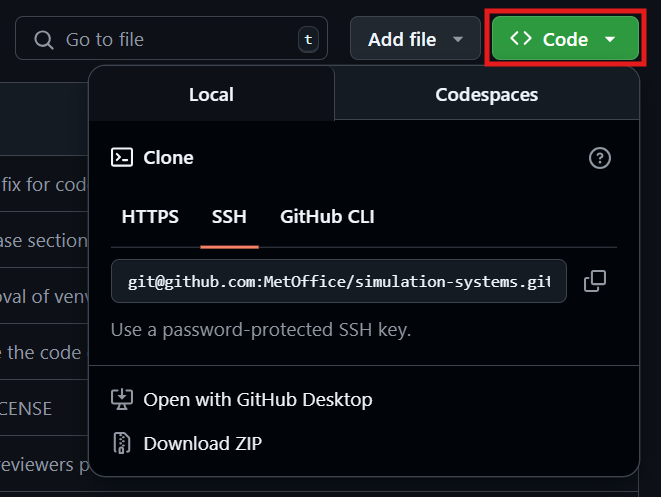
selecting the url as desired. Note, that this will likely be a fork rather than the upstream MetOffice repository shown above.
Create a Branch#
Branches for developing Simulation Systems repositories should generally be
branched from stable where this exists (some smaller repositories only
contain a main branch). Creating a branch from main may be acceptable
if the development is continuing on from a PR already committed at that
release.
To create a branch and switch to it from the command line, the syntax is,
Navigate to the GitHub repository where you would like to create a
branch. You will need write permission for that repository in
order to create the branch.
Choose to view all branches in the repository,
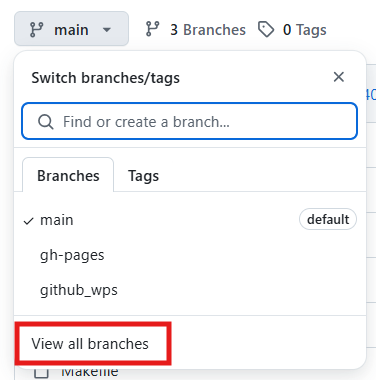
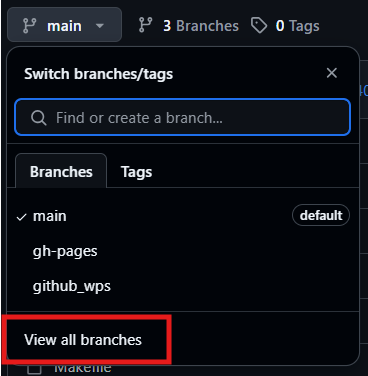
then select the new branch button,


Finally, name your branch and select the source branch as desired.
# start_point is the point to create a branch from
# It can be eg. a branch, hash, tag
# It will default to the current branch if not provided
# switch will automatically change to the newly created branch
git switch -c <branch_name> [<start_point>]

# Or

git branch <branch_name> <start_point>
git switch <branch_name>
Tip
When cloning a repository only the default branch, main, is
included in your local environment. To use stable as your
start_point for a branch then running
git switch stable
will clone the stable branch, and it will then be available for future branch creation.
Alternatively you can use origin/stable as your start_point
which reads directly from the remote copy of your fork.
Tip
If you’re creating a branch to use to migrate an fcm branch across to git, you’ll need to branch from either the git_migration tag or the hash that matches your fcm branch origin. This can be done by filling in <start_point> in the commands above.
Developing a Change#
Now that you have a new branch, you are ready to begin development. See Developing Your Change, for advice on how to plan and implement new developments in a Simulation Systems repository, including advice on Metadata, KGO’s and testing.
Tip
To see the status of your current clone you can run git status
While developing you will likely want to commit your changes and push to the remote repository. First you will need to stage any files that have been modified and you would like to include in your commit,
git add path/to/file1 [path/to/file2...]
And then commit the change,
git commit -m "An Informative Commit Message"
Tip
In git you do not need to commit all modified files unlike in svn/fcm. It
is also possible to only commit certain parts of a modified file. For more
information see the relevant man page, man git add.
Finally, you may want to push any commits stored in your local clone back to the remote source. This allows you to share code with someone else during the development process, or prepare to open a pull request once you’re ready for a review.
git push
Important
Unlike svn/fcm, committing in git will not push your changes to the remote
server. The git push command must also be used to do this.