Exploring GitHub
Last updated on 2026-06-10 | Edit this page
Overview
Questions
- How do I search a repository?
Objectives
- Navigate around the GitHub interface.
GitHub has a lot of features so we’ll take some time to learn how to navigate the interface. Your instructor will guide you through navigating each section.
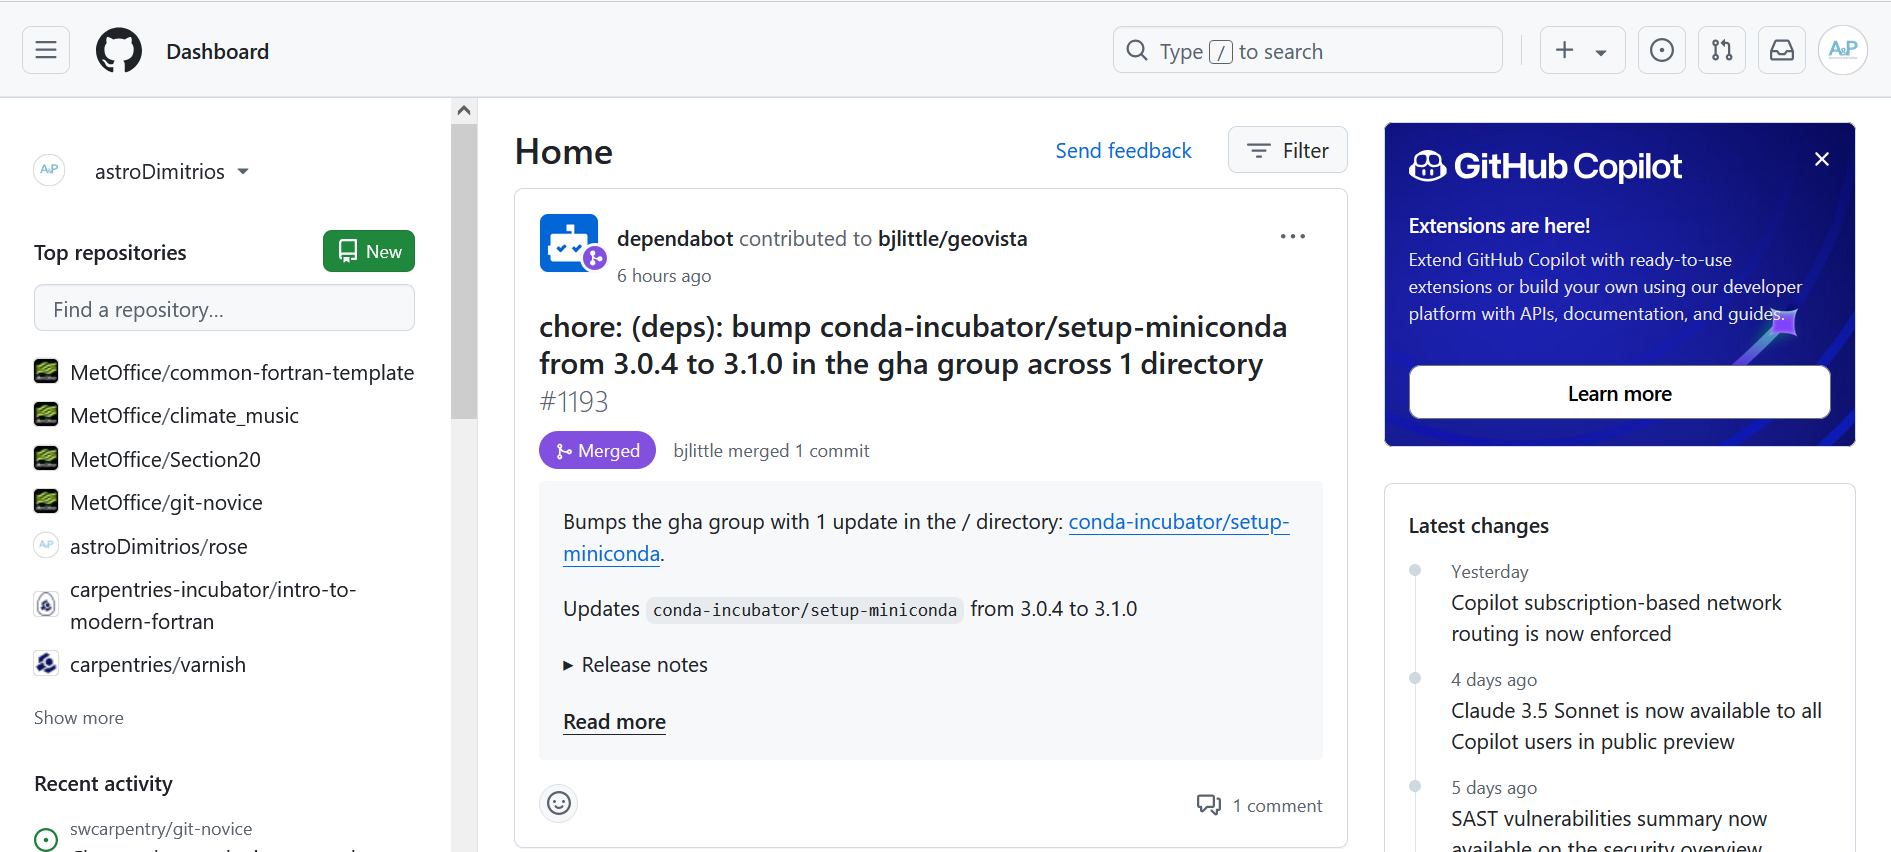
This is the GitHub homepage. On the left you can quickly navigate to
a repository or use the green New button to create a new
repository. If you are in an organisation that requires single sign on
to see organisational repositories you will be prompted with a large
green button at the top of this page to sign in.
To access your settings click on your round profile icon in the top
right hand corner and select the Settings option.
1 Exploring the interface for a repository
The following image shows an example repository. In fact it is the repository containing the material for this lesson. Link to the git-novice repository.
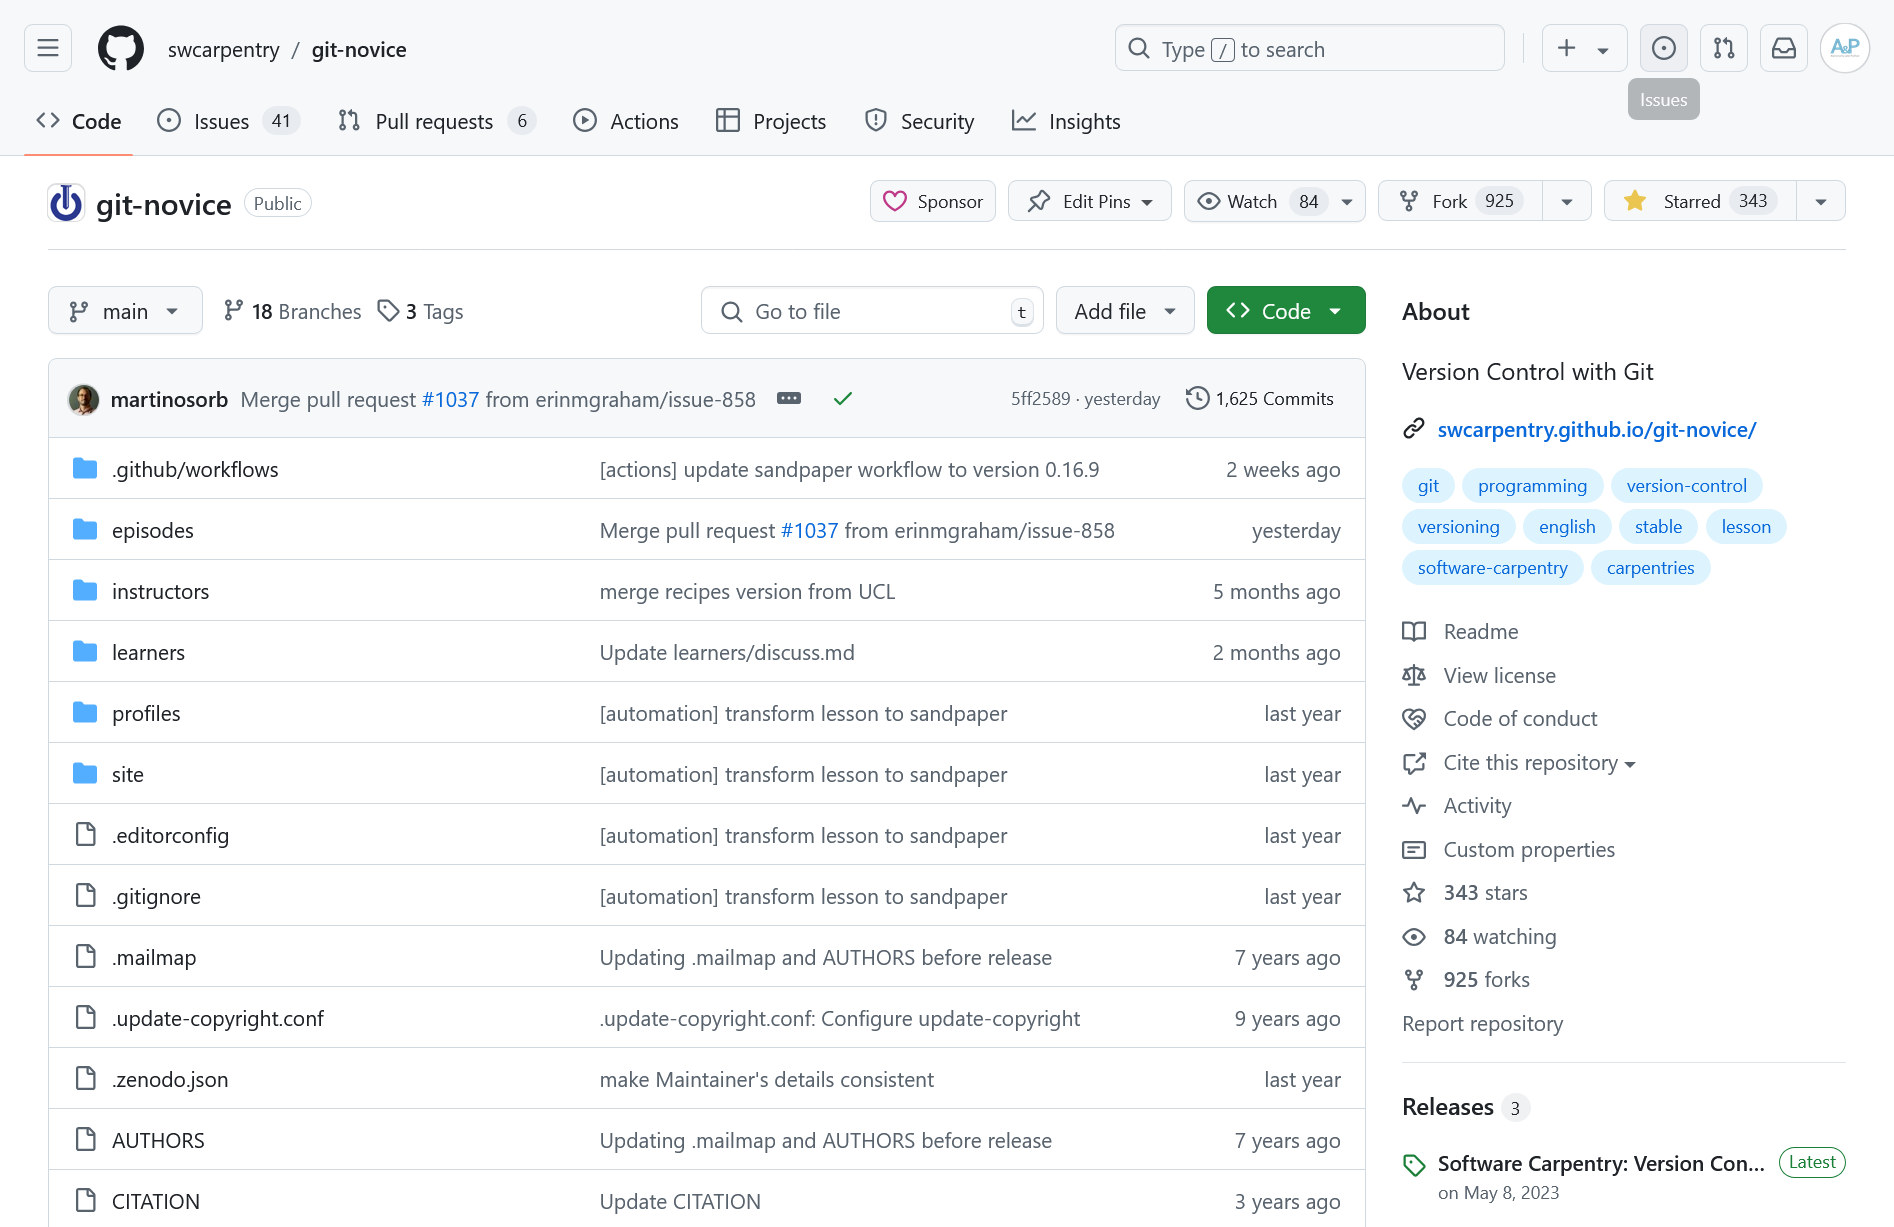
Let’s break it down into parts:

When you navigate to a repository the top nav will display the
organisation the repository belongs to, swcarpentry, and
the name of the repository, git-novice, in the top left. In
the top right you have access to GitHubs powerful search, buttons to
open Issues and Pull requests (which will be explained later), and the
notifications and profile icon on the far right.

This next section displays tabs to navigate around your repository and various buttons which allow you to watch for changes to a repository and star a project. Starring a repo makes it easier to find from your homepage and helps repository owners gauge usage of their code.
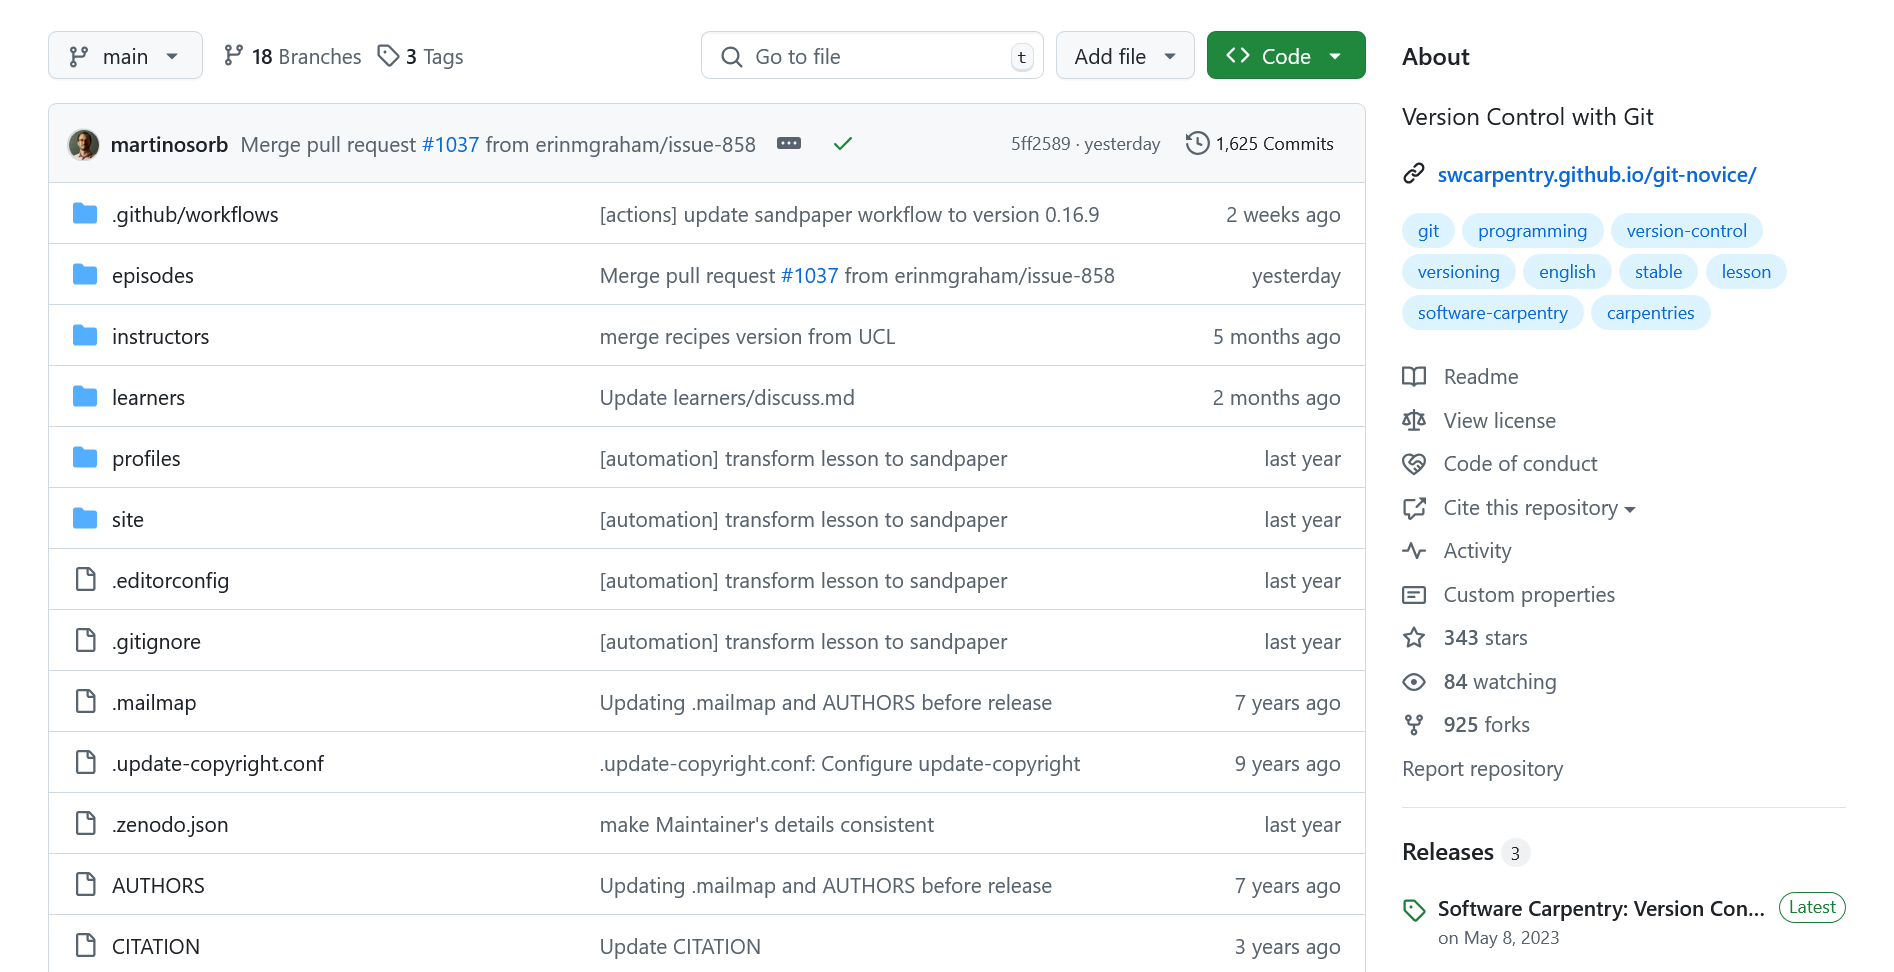
This section displays the code contained on the default branch, in
this case main. It also displays useful stats about the
repository on the right. The green <> Code button
lets you check out a local copy of the repository.
- Quickly navigate to a repository in your browser using the url
pattern:
https://github.com/<username or organisation>/<repo name>