Version Control with Git
Extract All Images
Automated Version Control-1
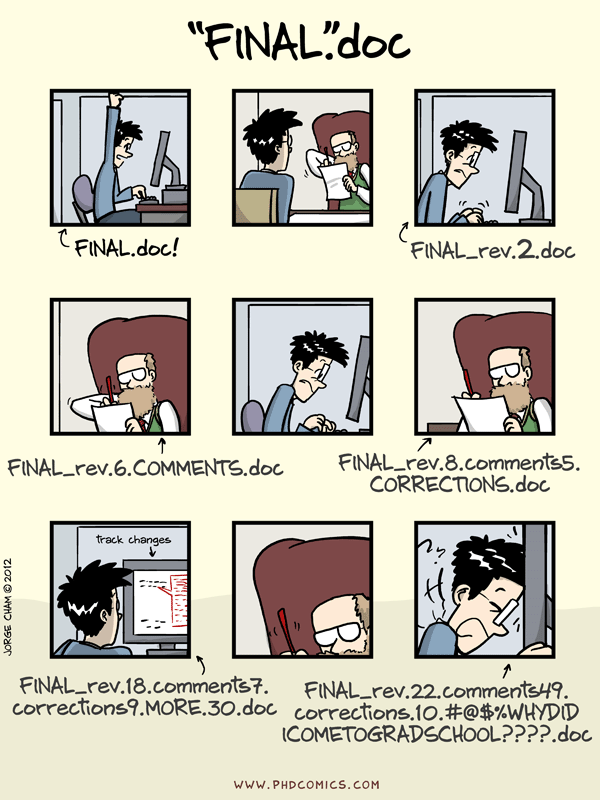
Automated Version Control-2

Automated Version Control-3

Automated Version Control-4

Terminology-1

Terminology-2

Tracking Changes-2

Tracking Changes-5

Restoring a file from further back-1

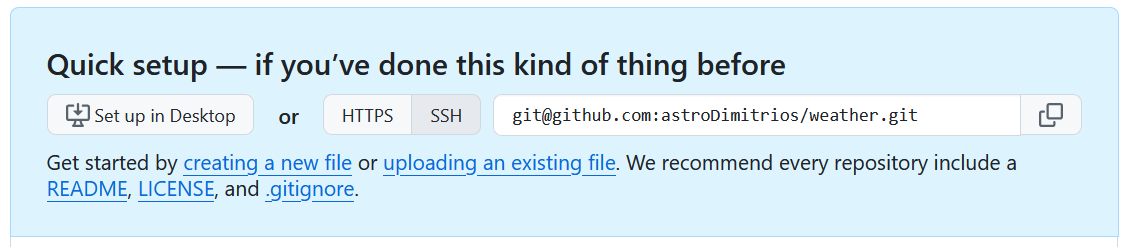
1. Create a remote repository-1

1. Create a remote repository-2
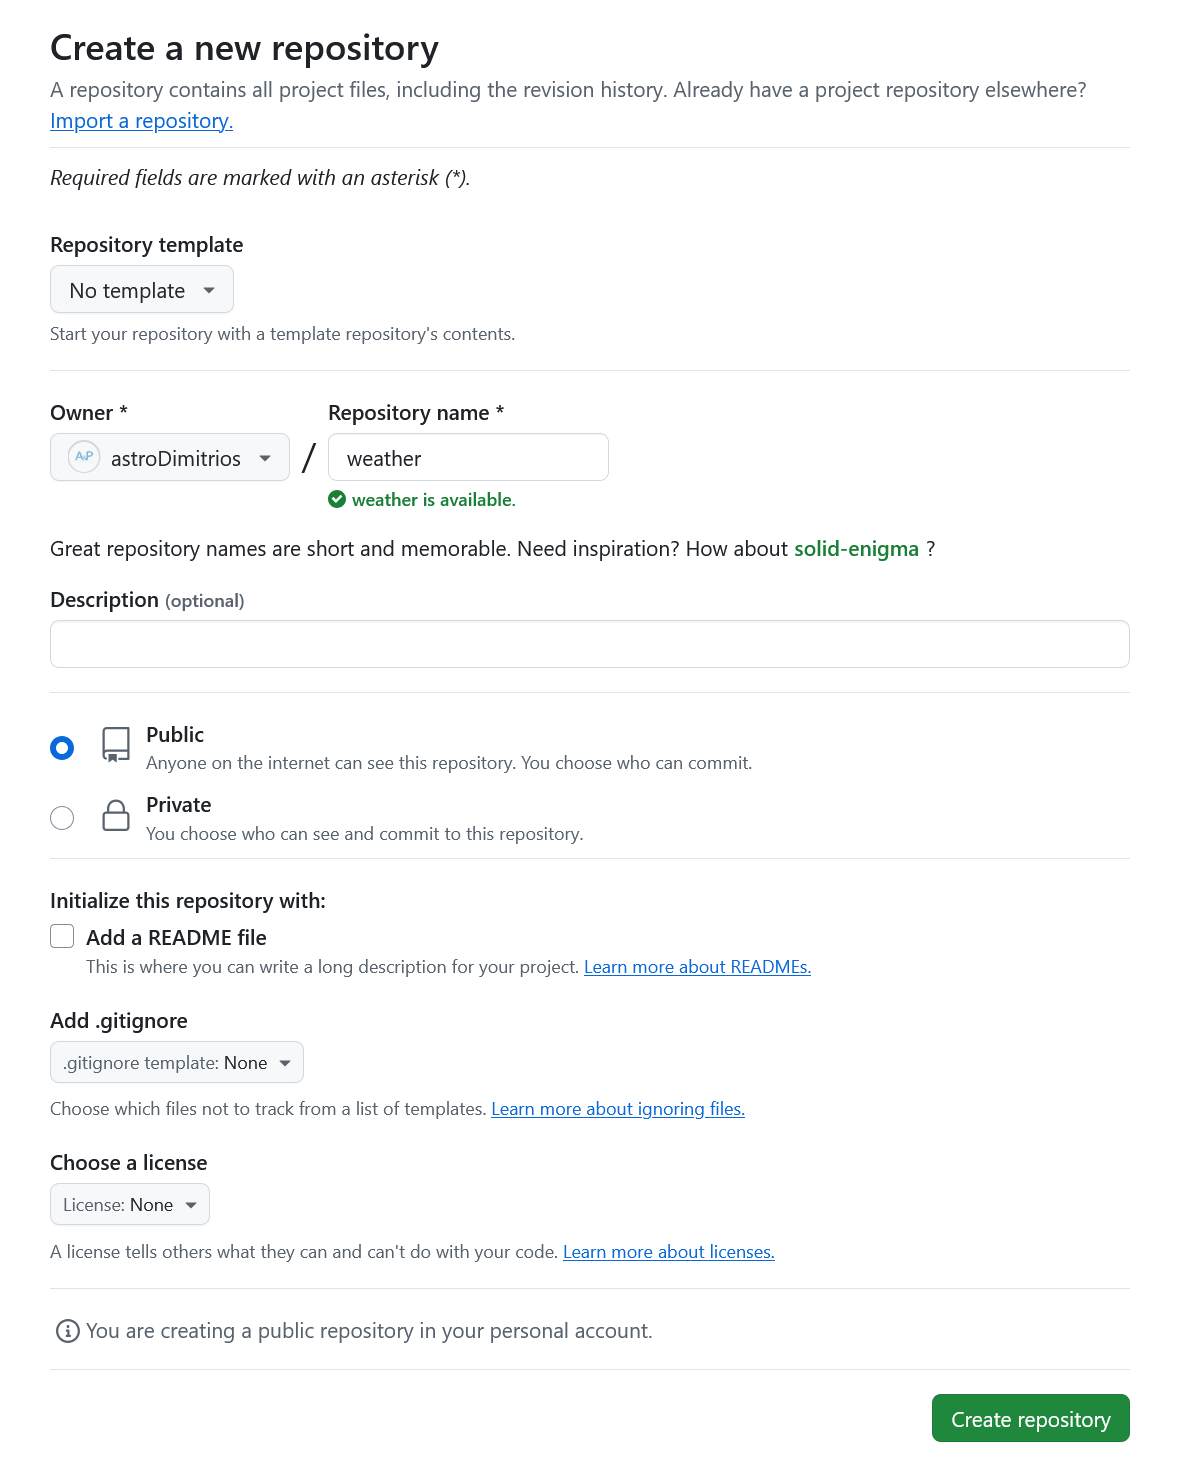
1. Create a remote repository-3
1. Create a remote repository-4
1. Create a remote repository-5

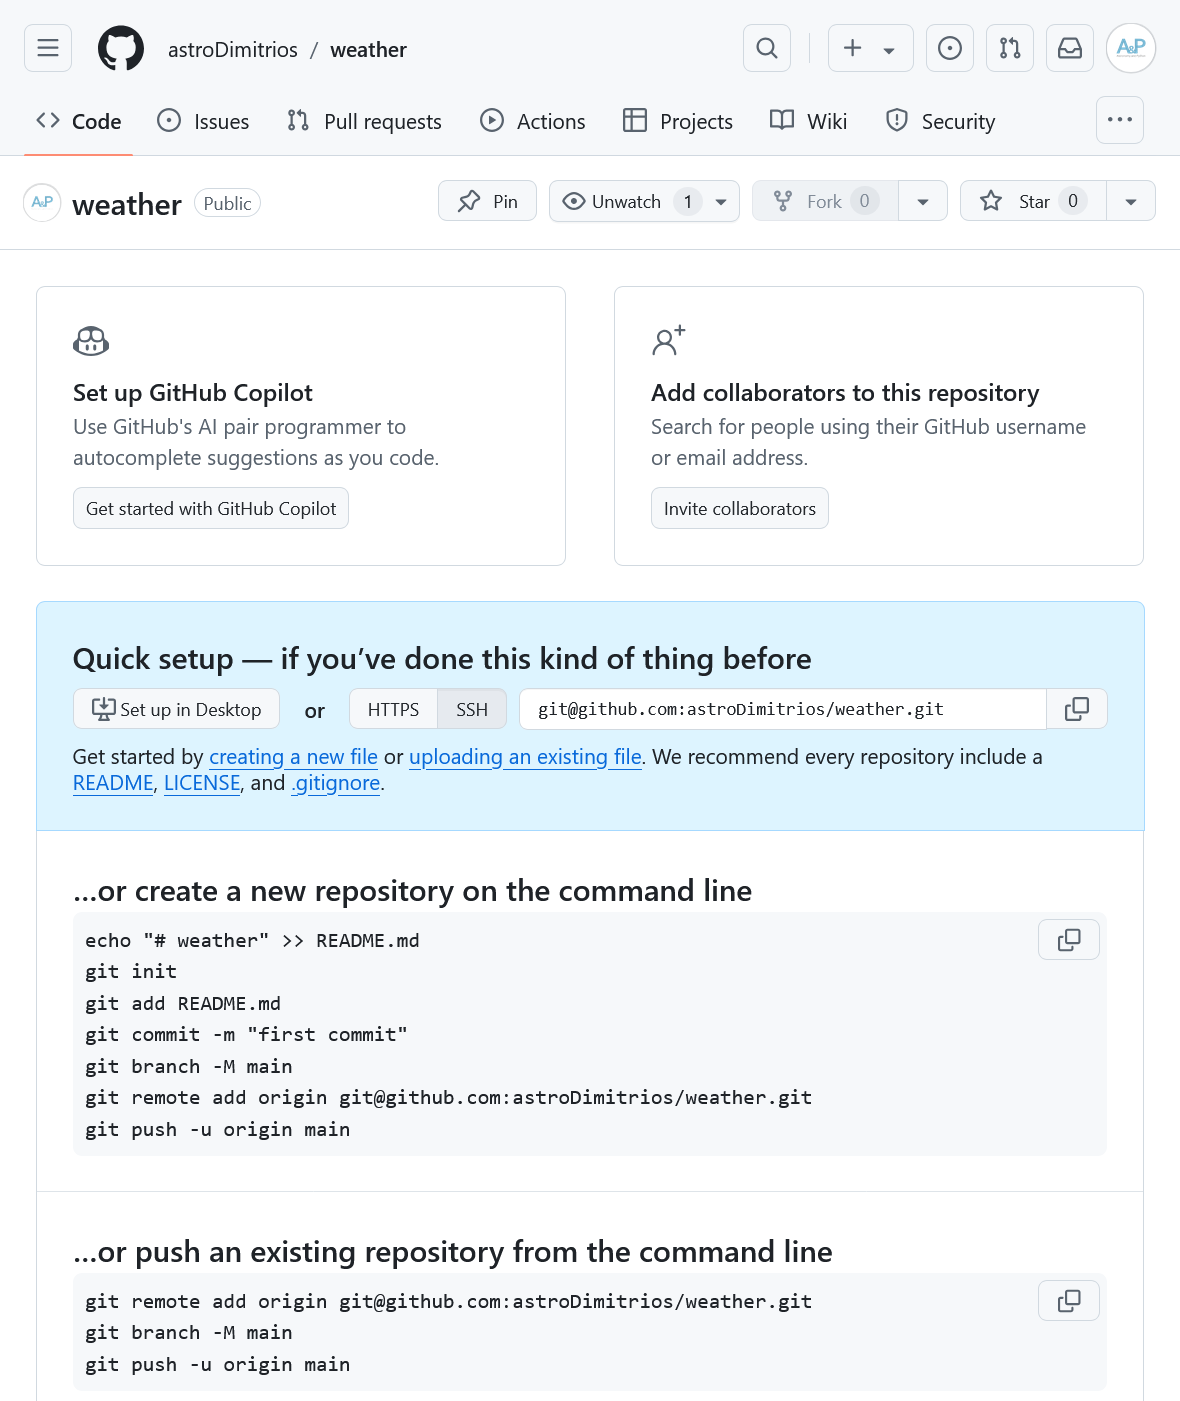
2. Connect local to remote repository-1
4. Push local changes to a remote-1

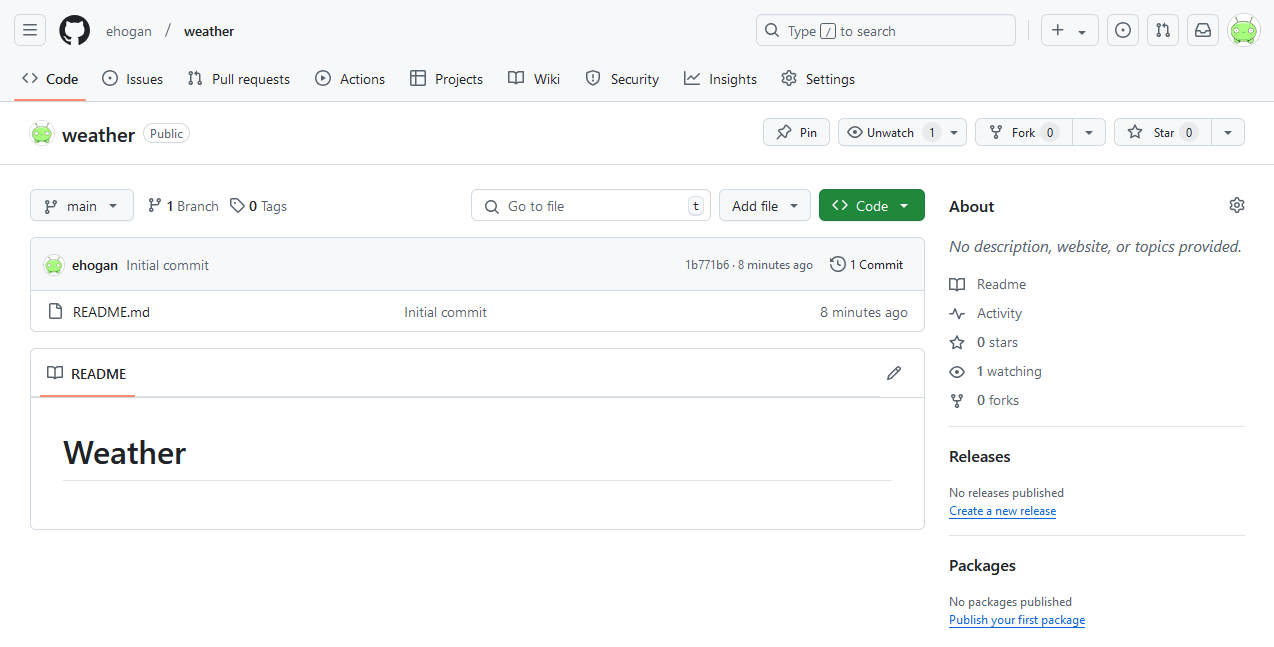
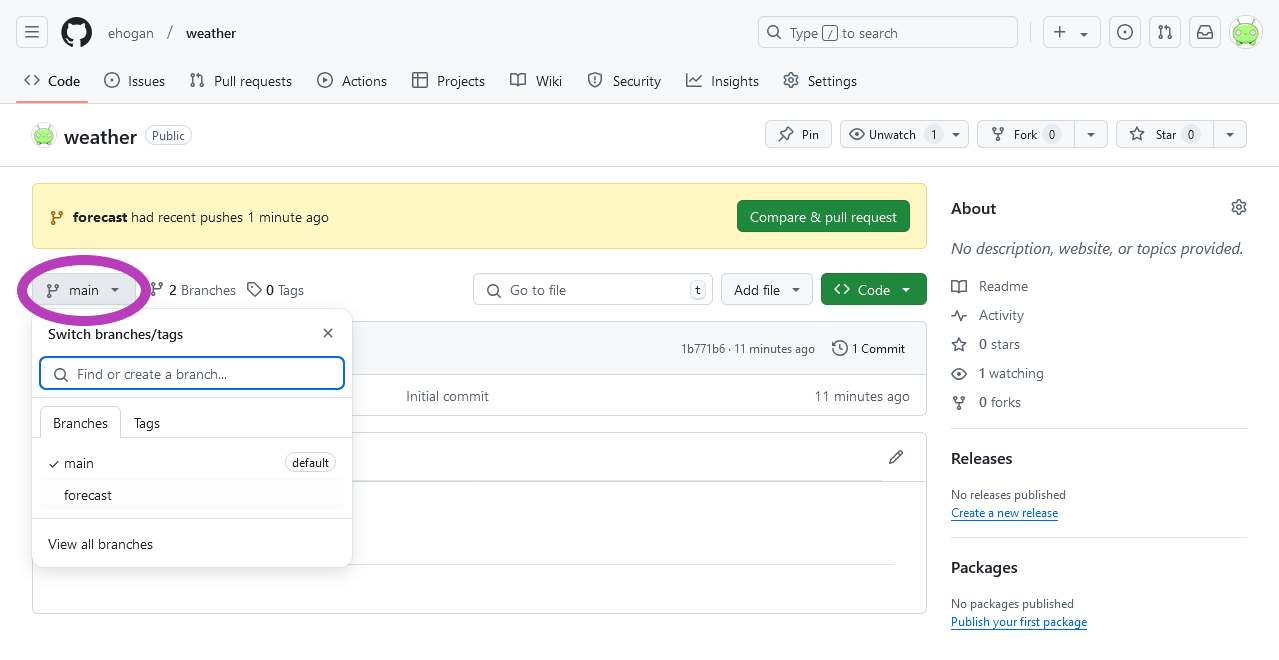
Exploring GitHub-1
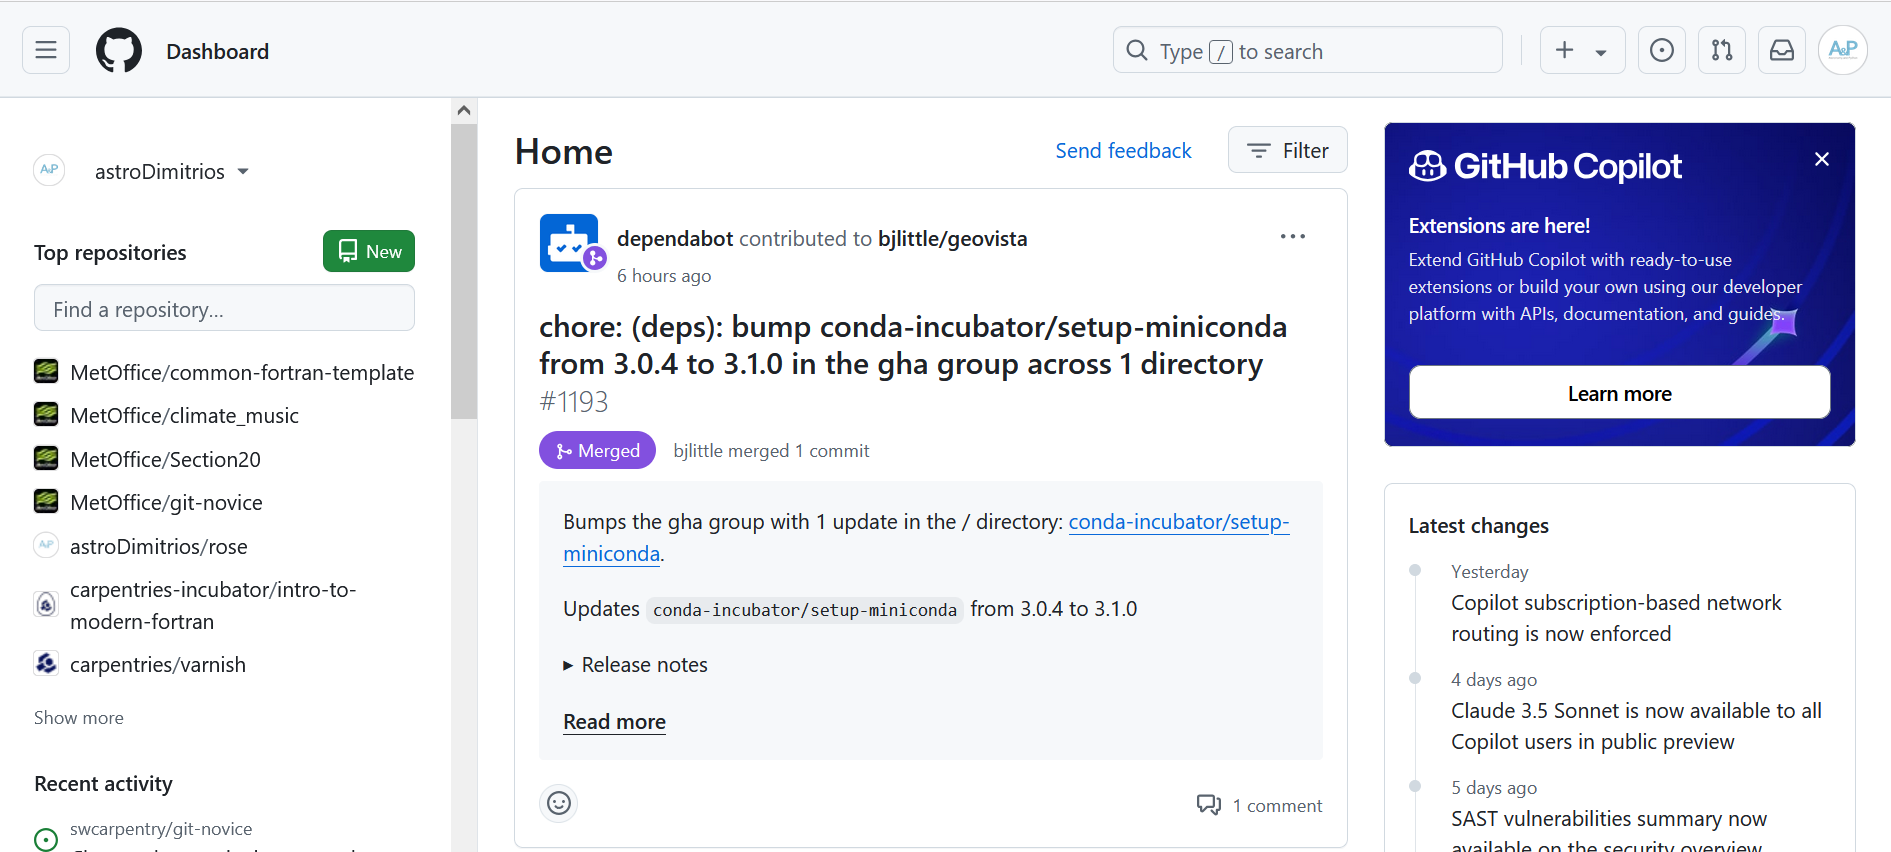
Exploring GitHub-2
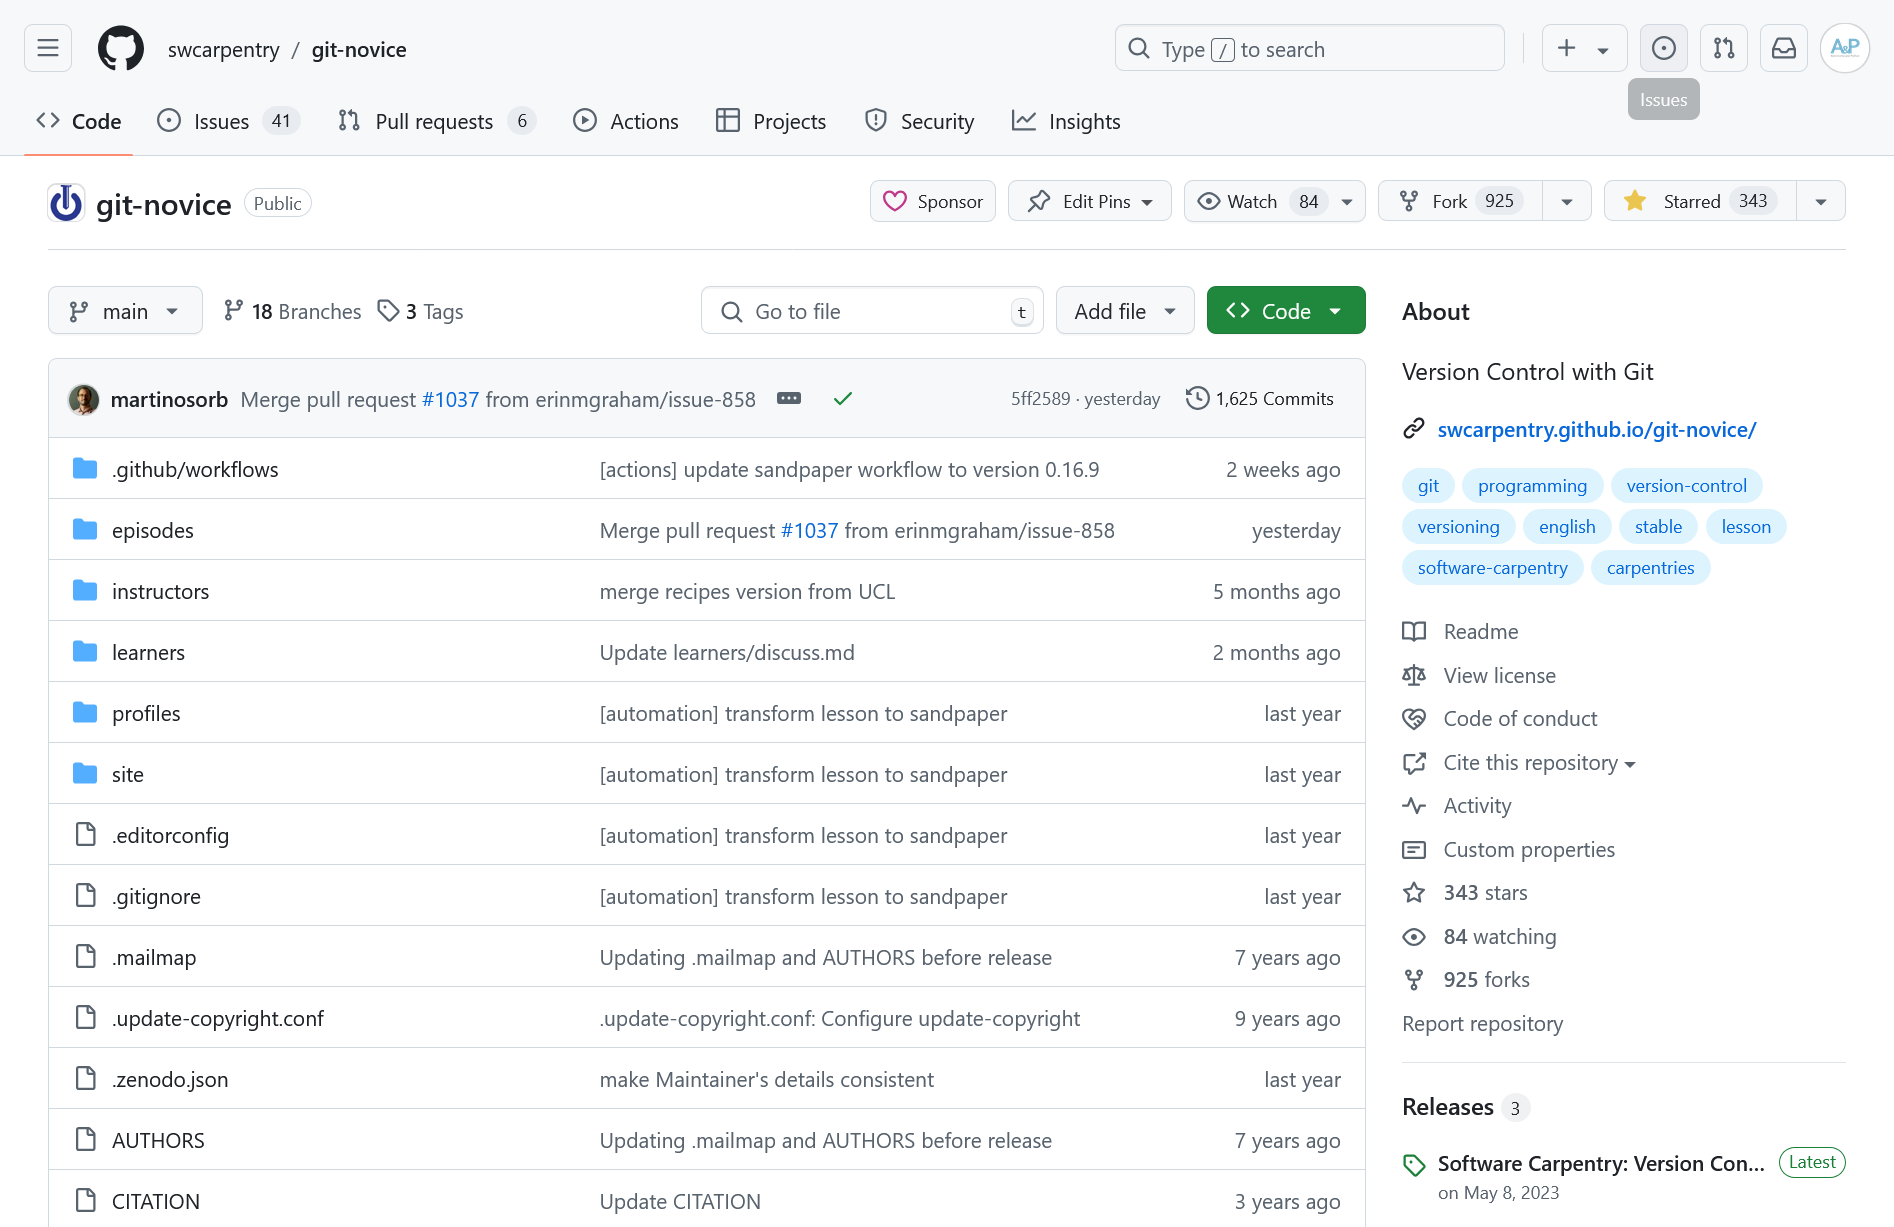
Exploring GitHub-3

Exploring GitHub-4

Exploring GitHub-5
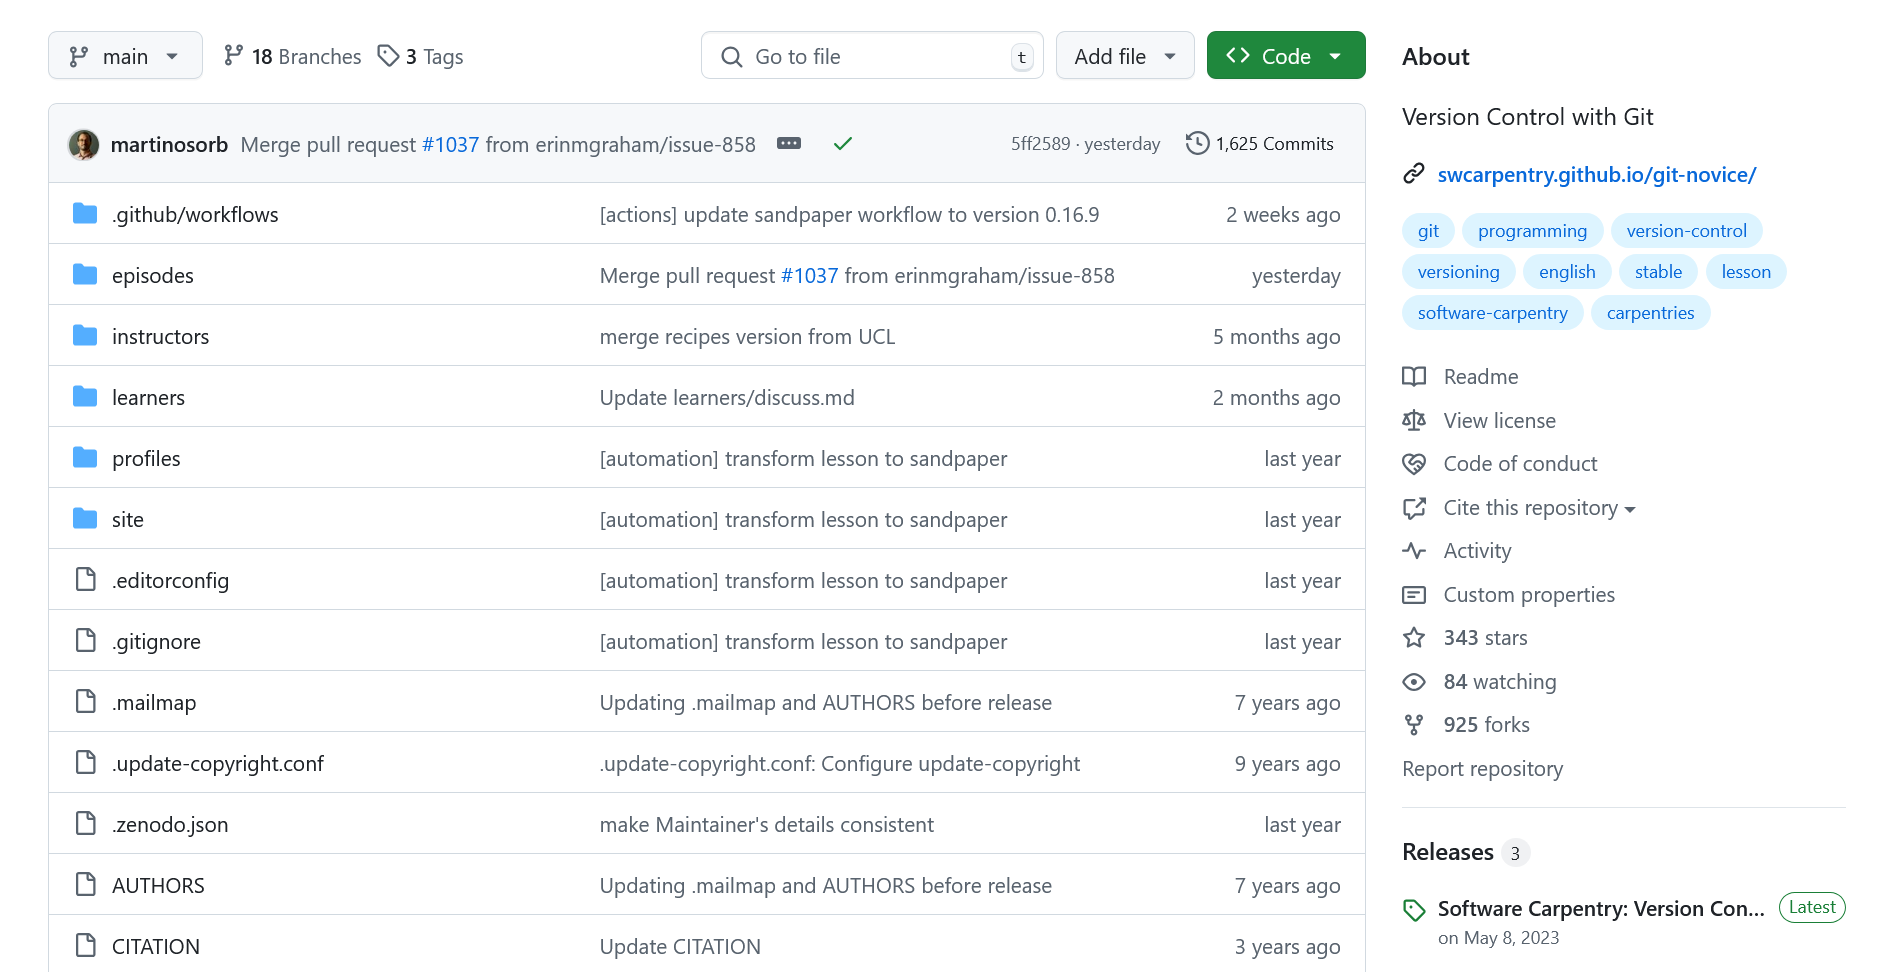
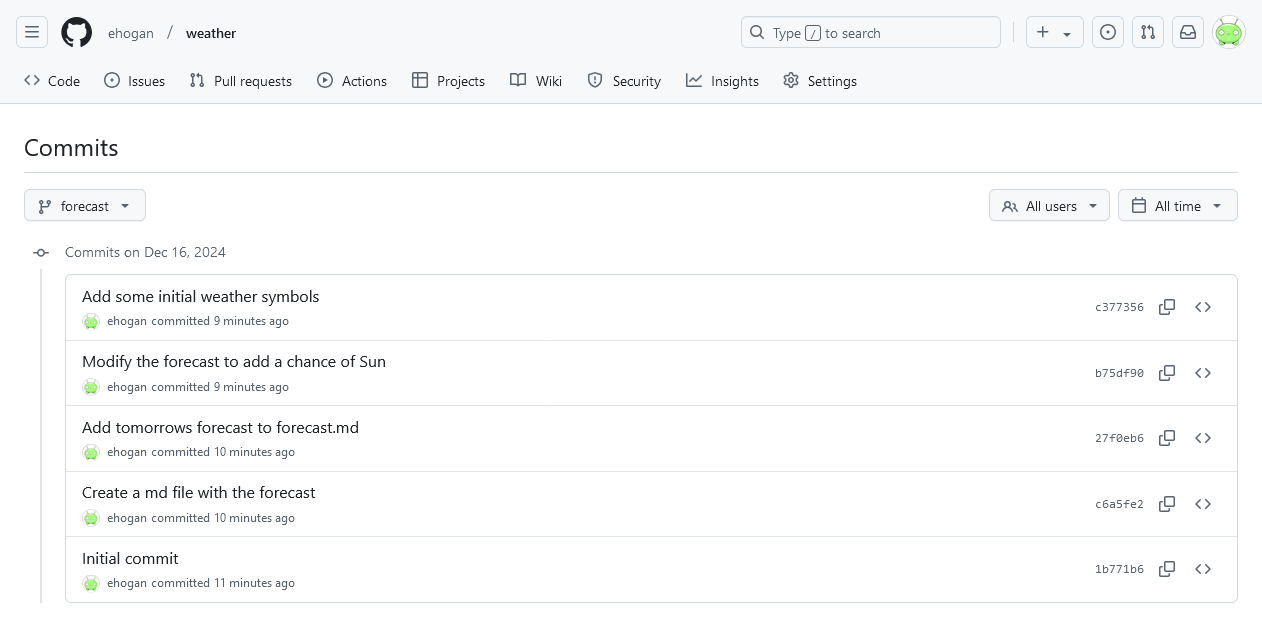
Viewing the History of a Repository on GitHub-1
Viewing the History of a Repository on GitHub-2
Viewing the History of a Repository on GitHub-3
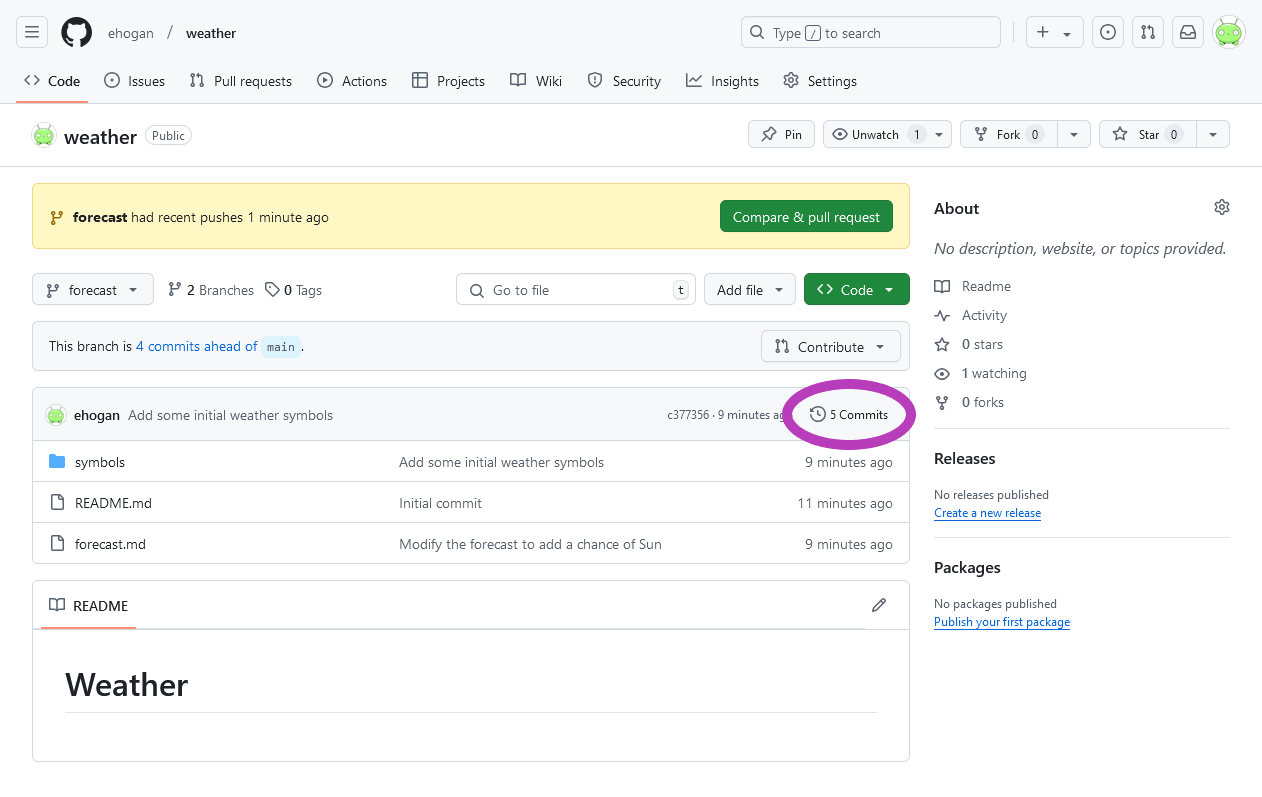
Viewing the History of a Repository on GitHub-4
Viewing Differences Between Commits-1
Viewing Differences Between Commits-2

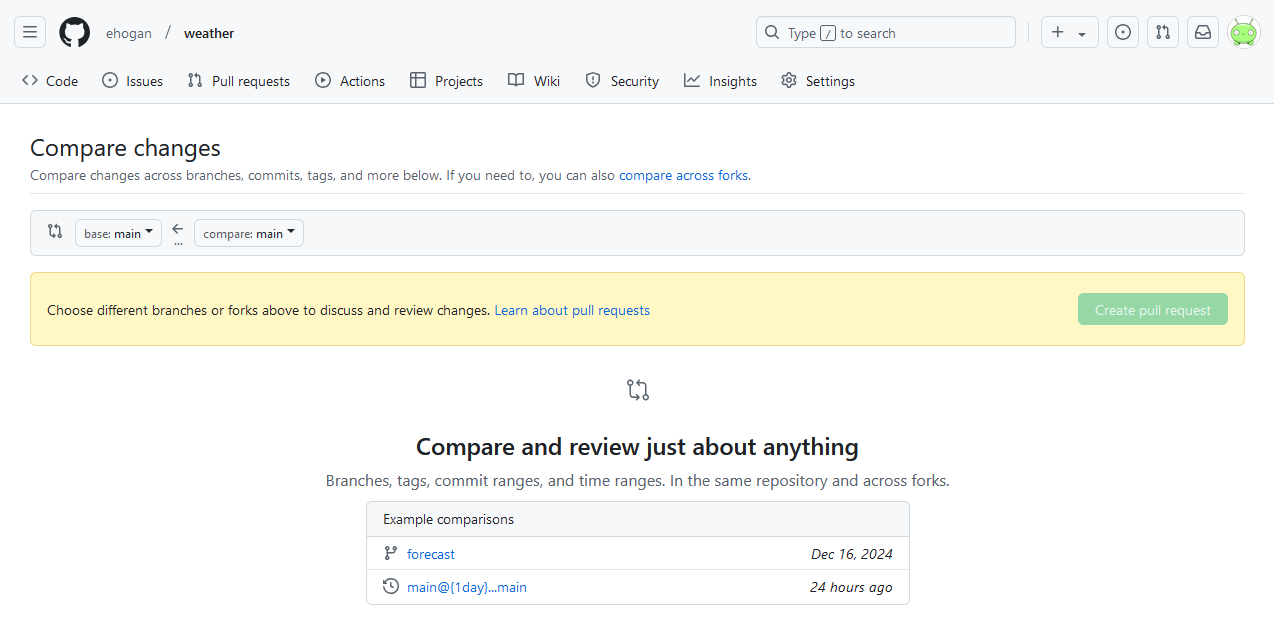
Creating a Pull Request-1

Creating a Pull Request-2
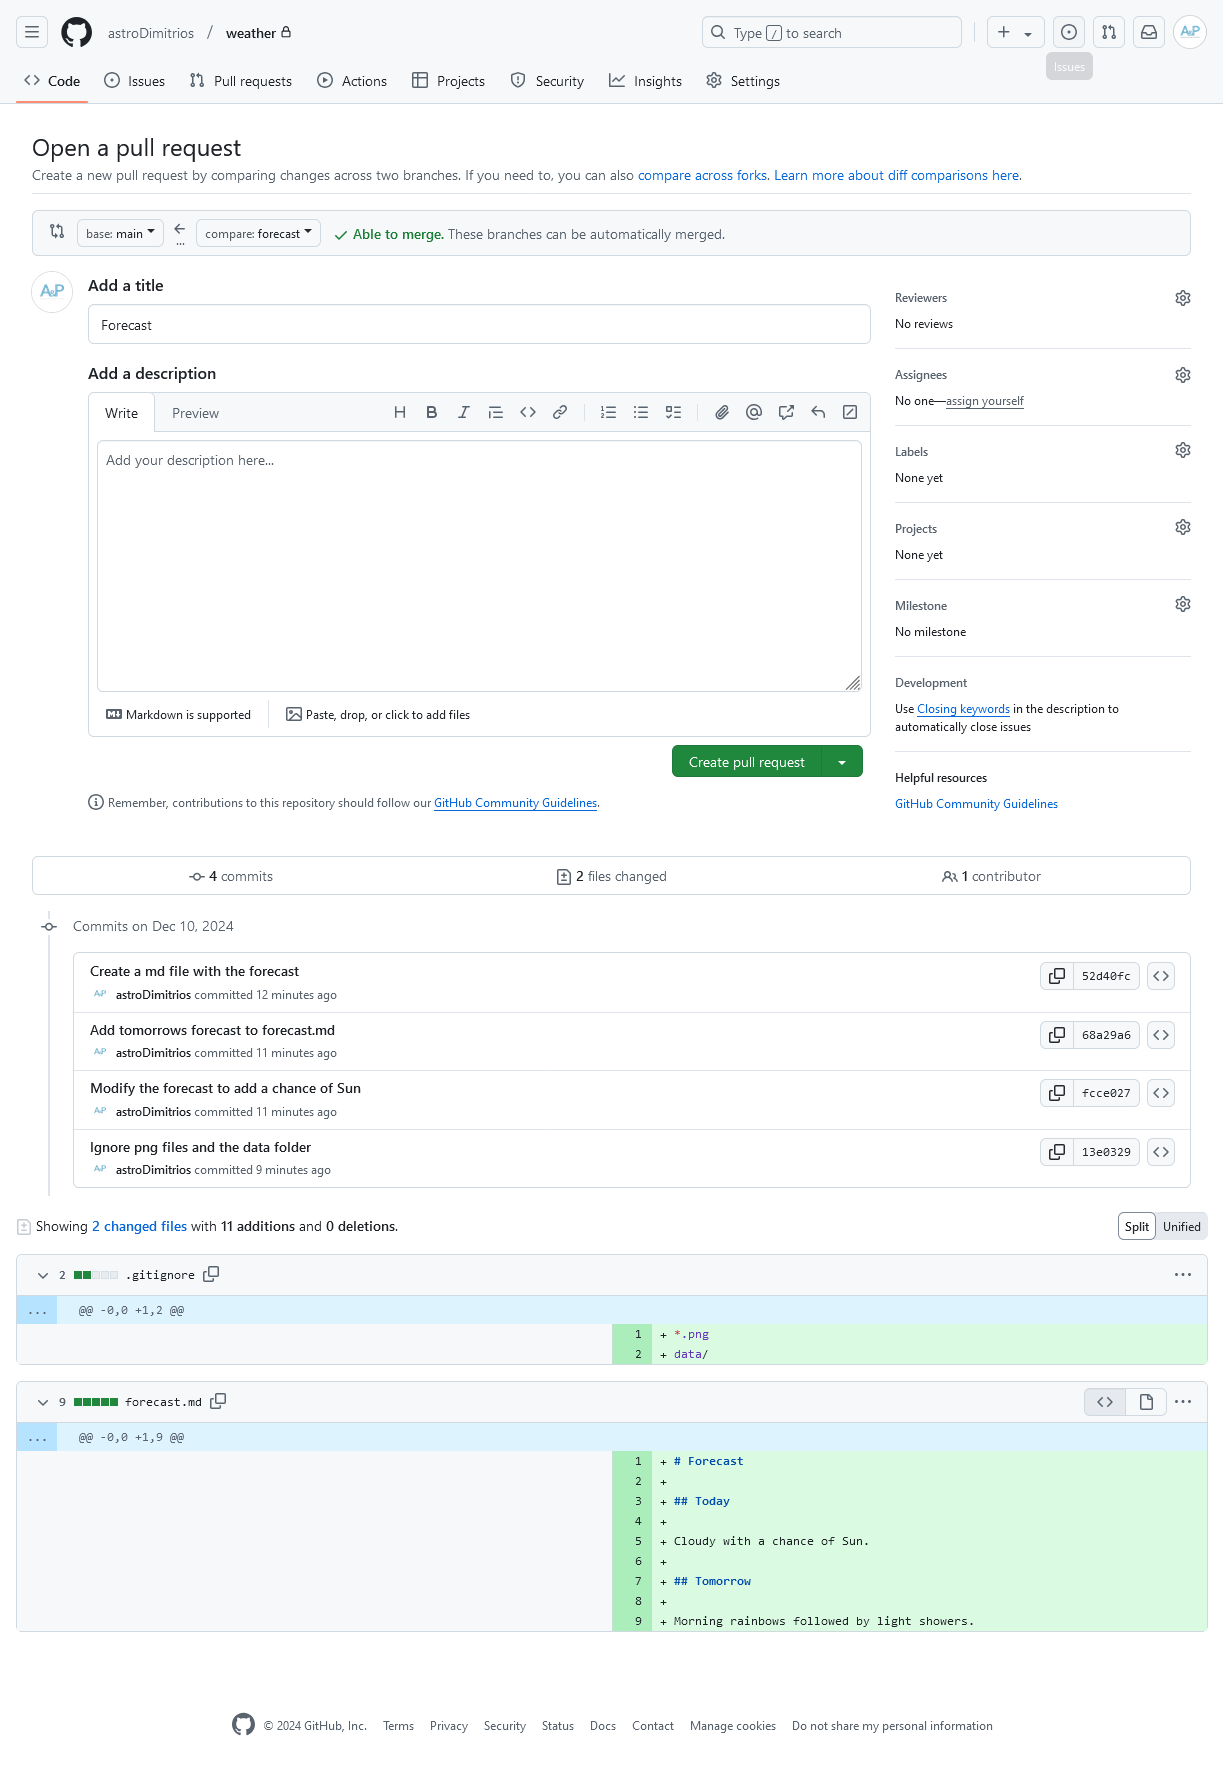
Creating a Pull Request-3
Creating a Pull Request-4

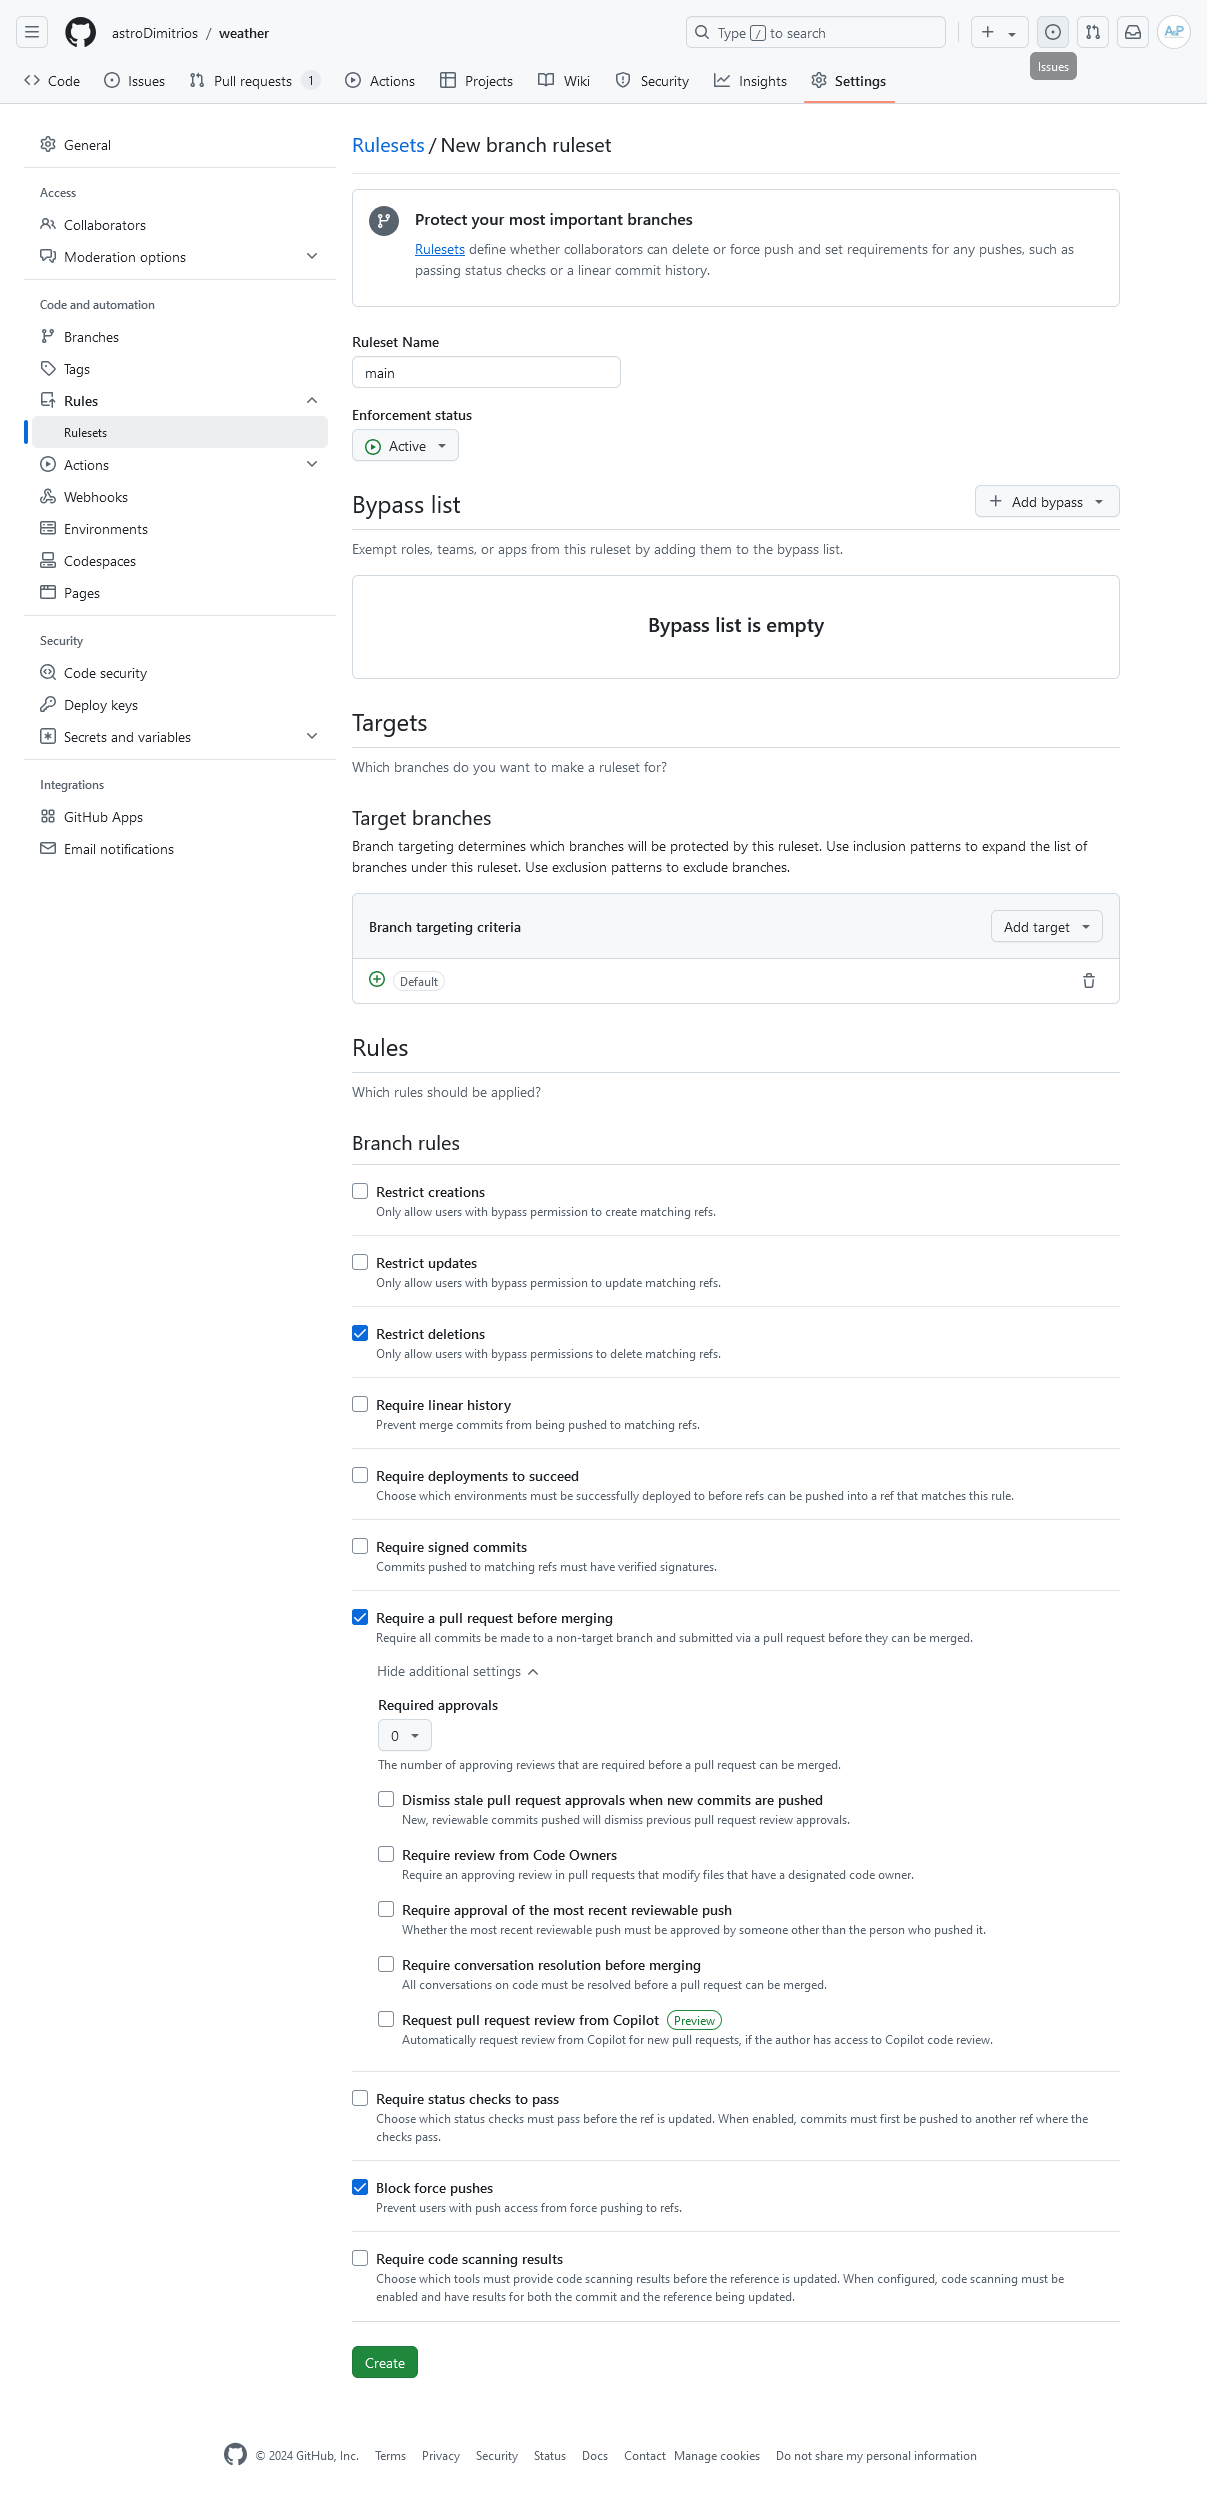
Rulesets-1
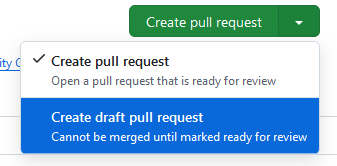
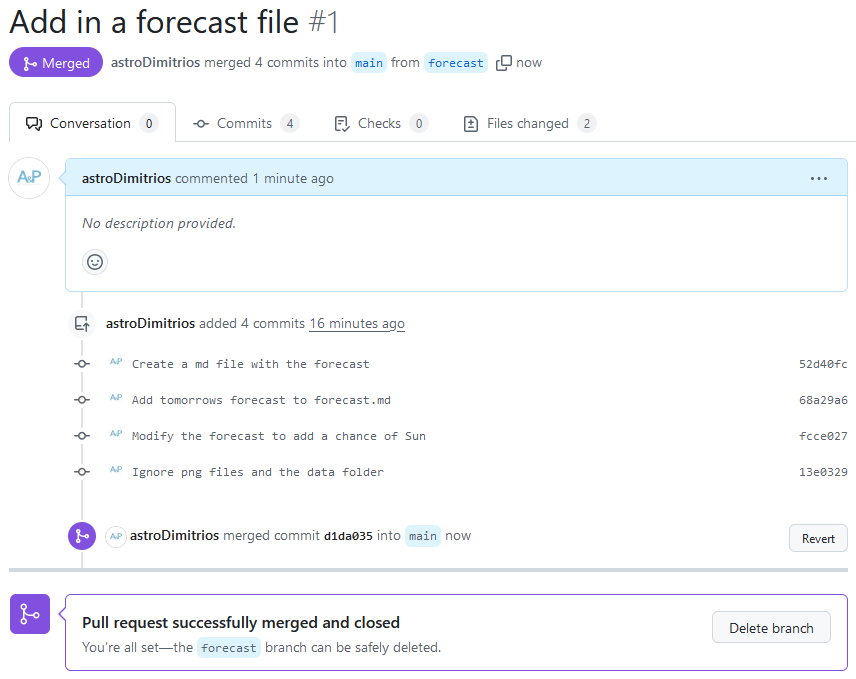
Merging a Pull Request-1
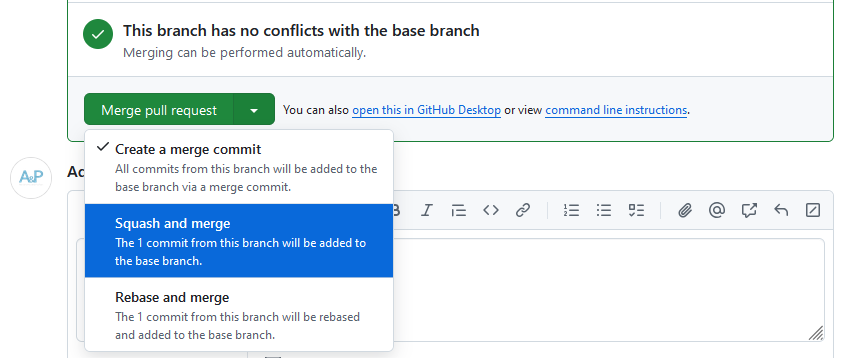
Merging a Pull Request-2
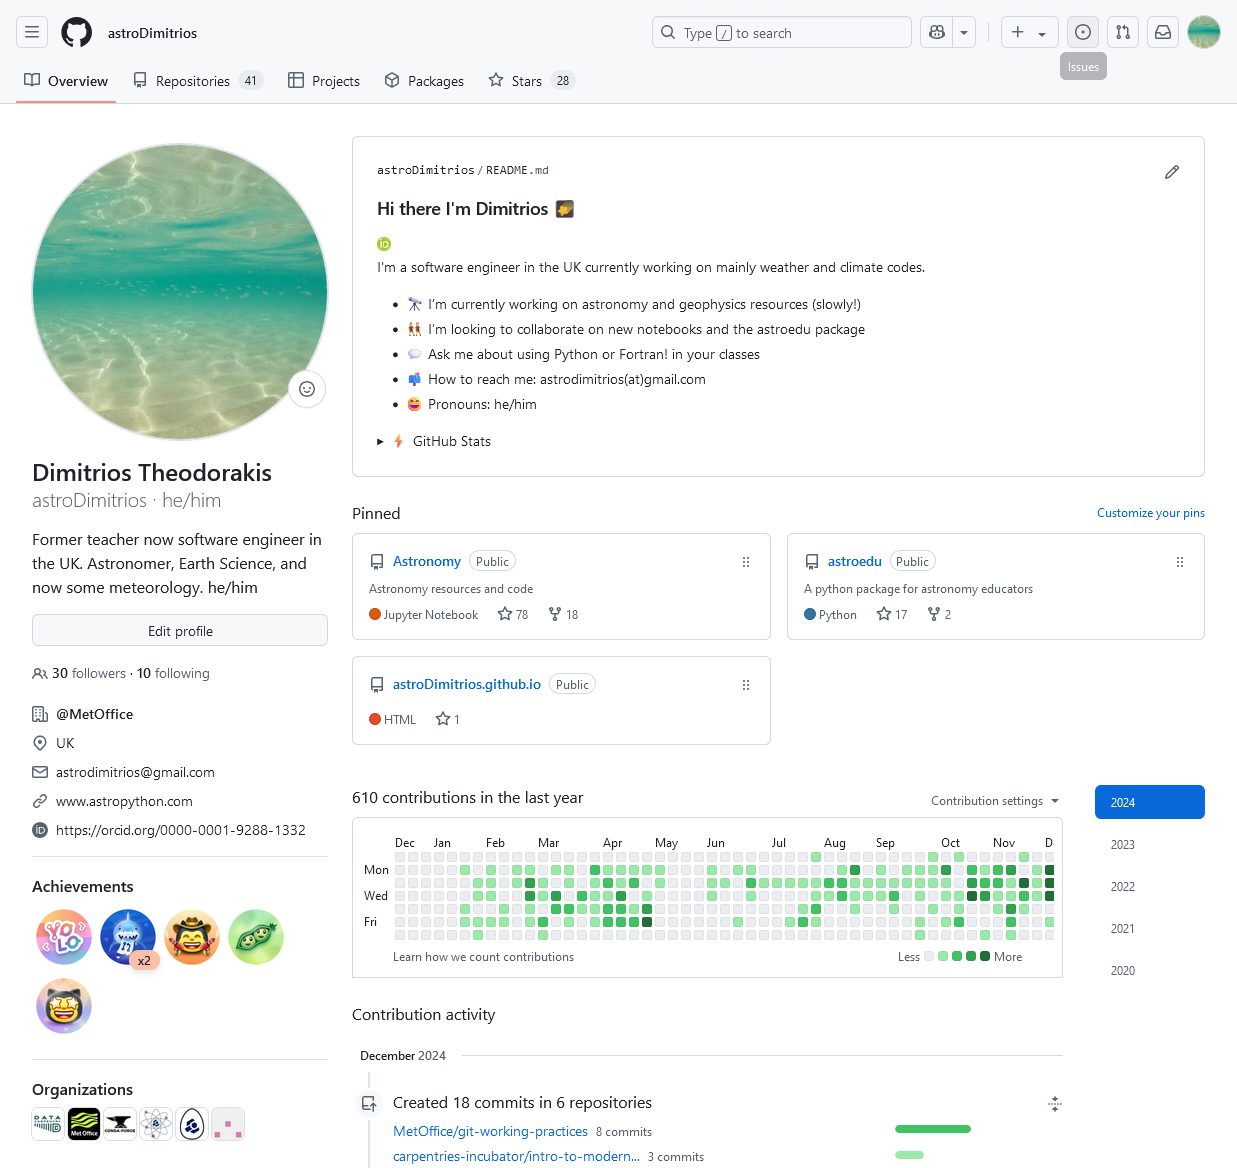
Profile Settings-1
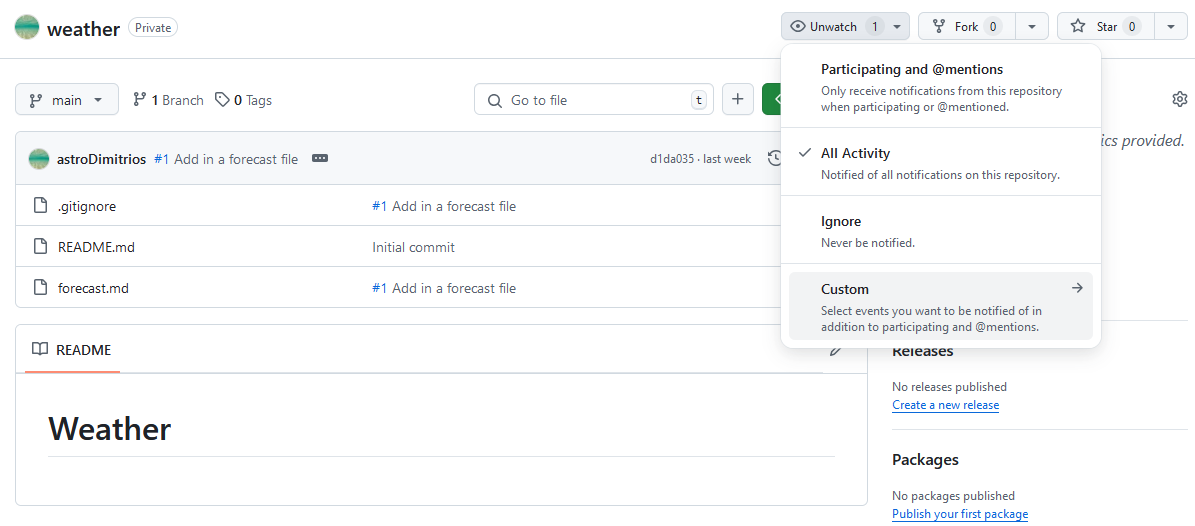
Configuring Notifications-1
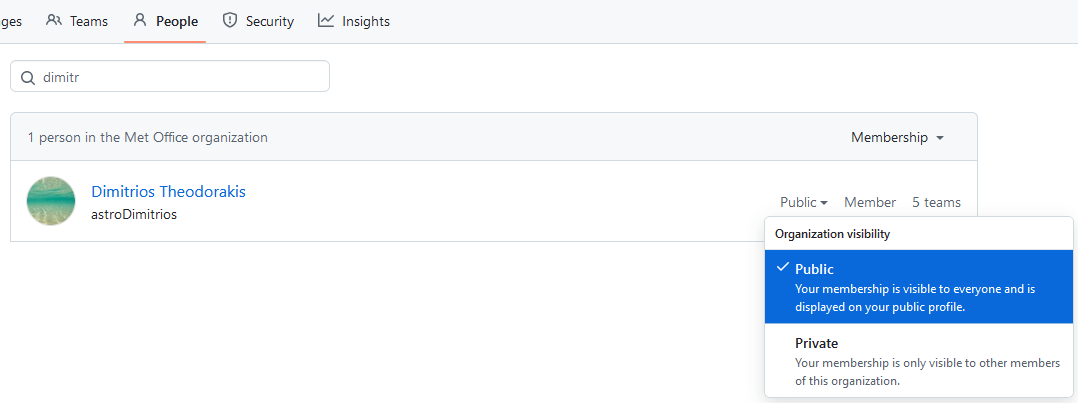
Organisation Membership-1
Summary-1

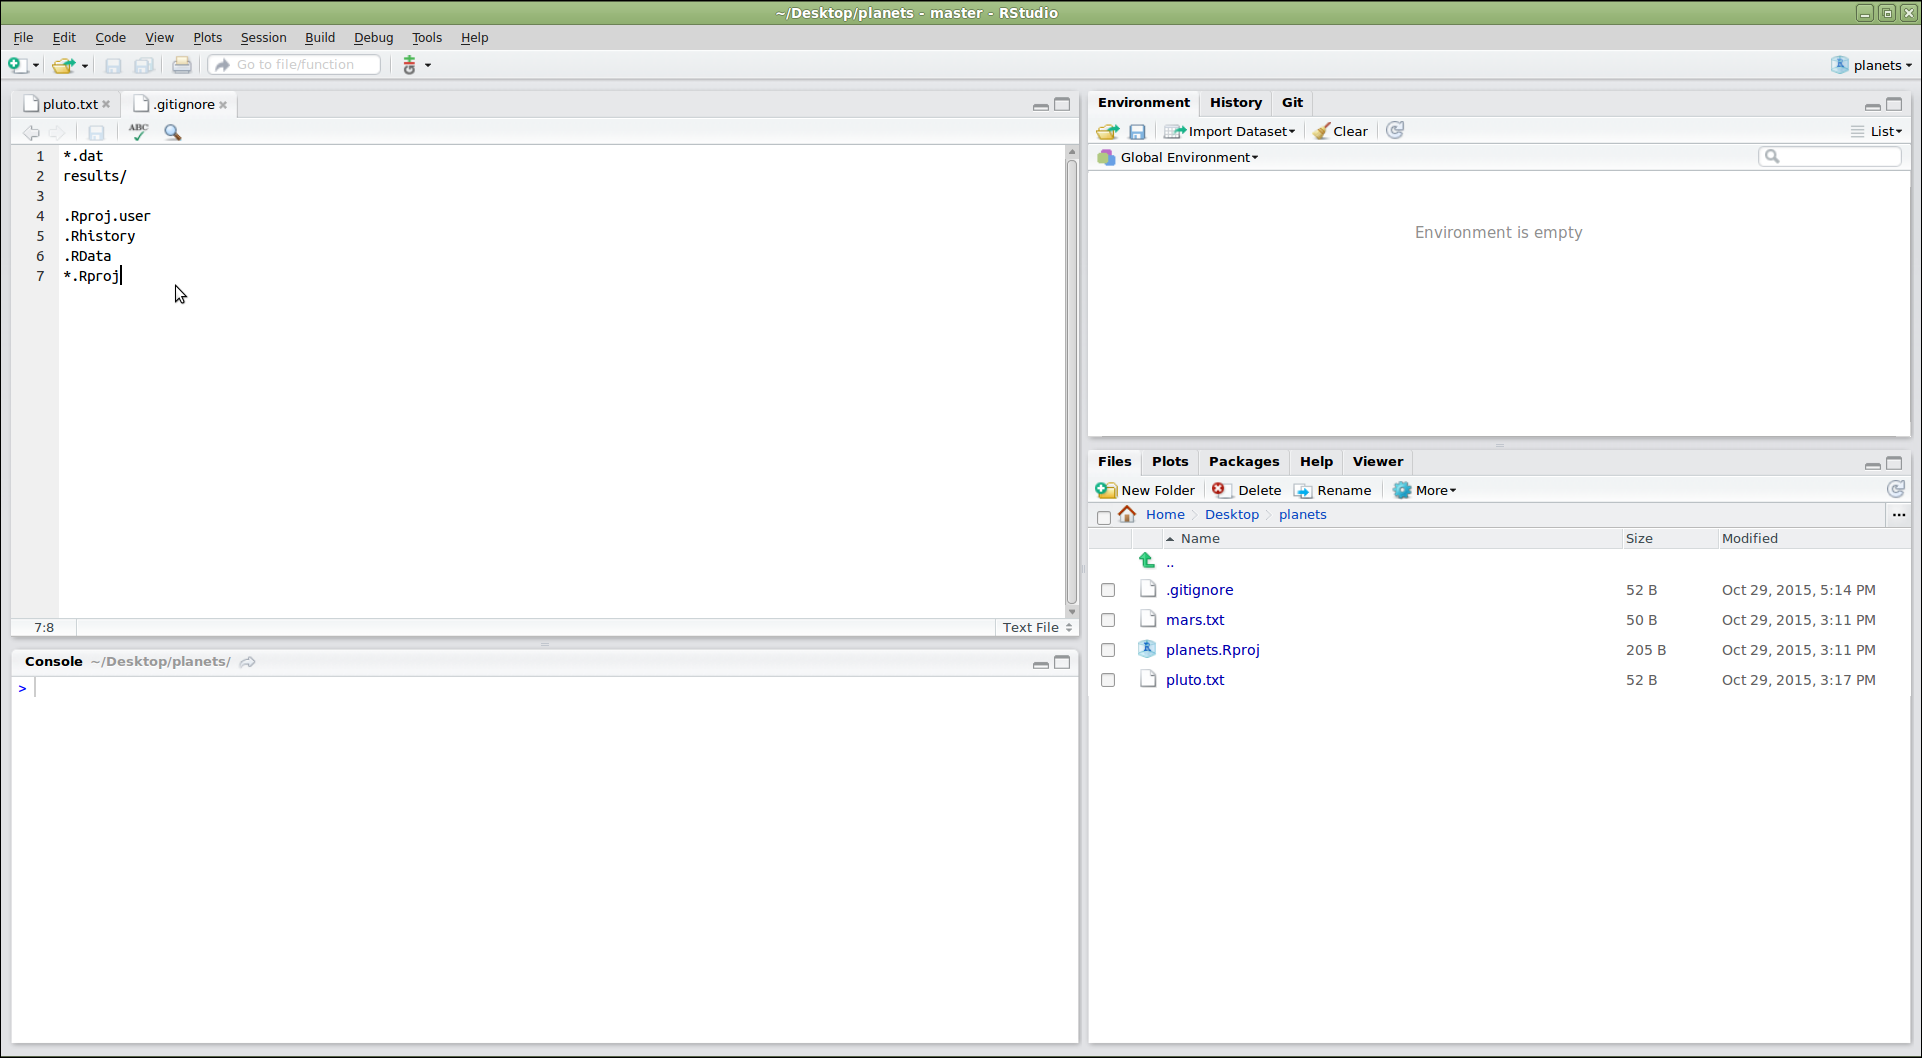
‘Using Git from RStudio’-1
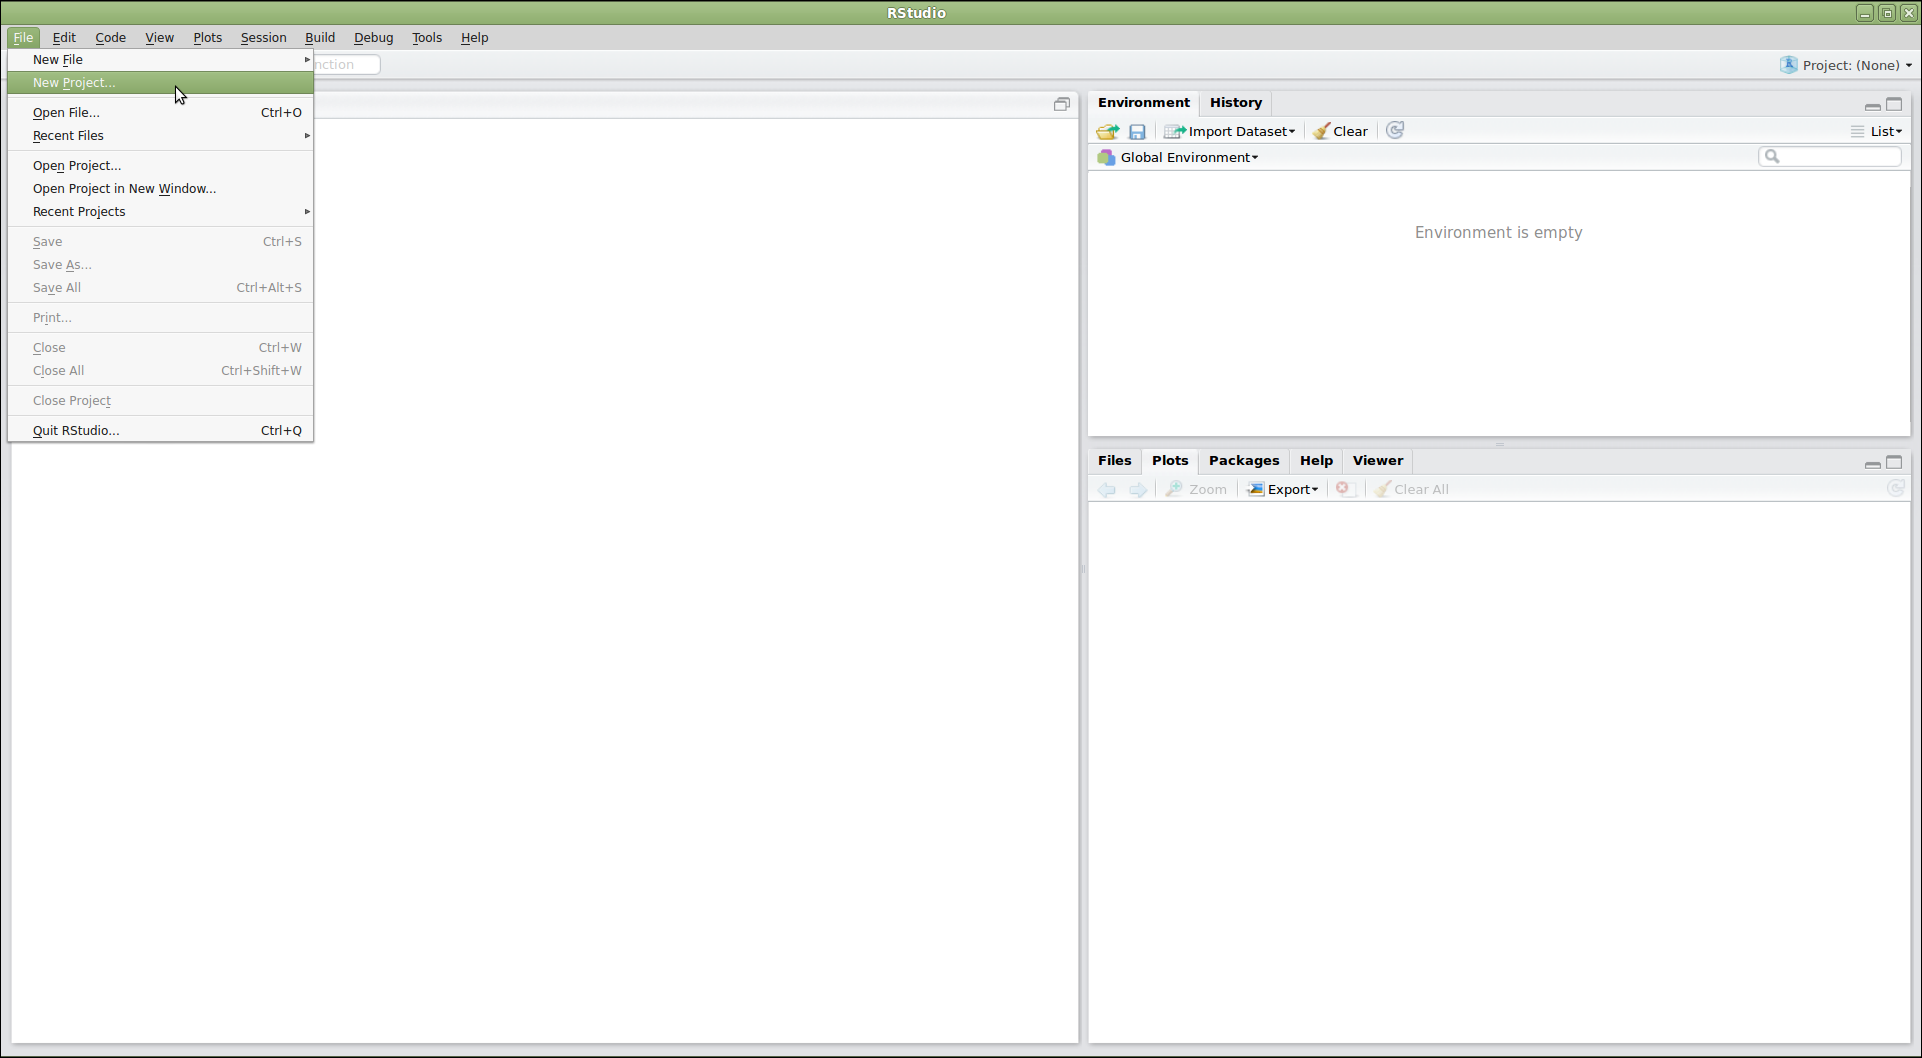
‘Using Git from RStudio’-2
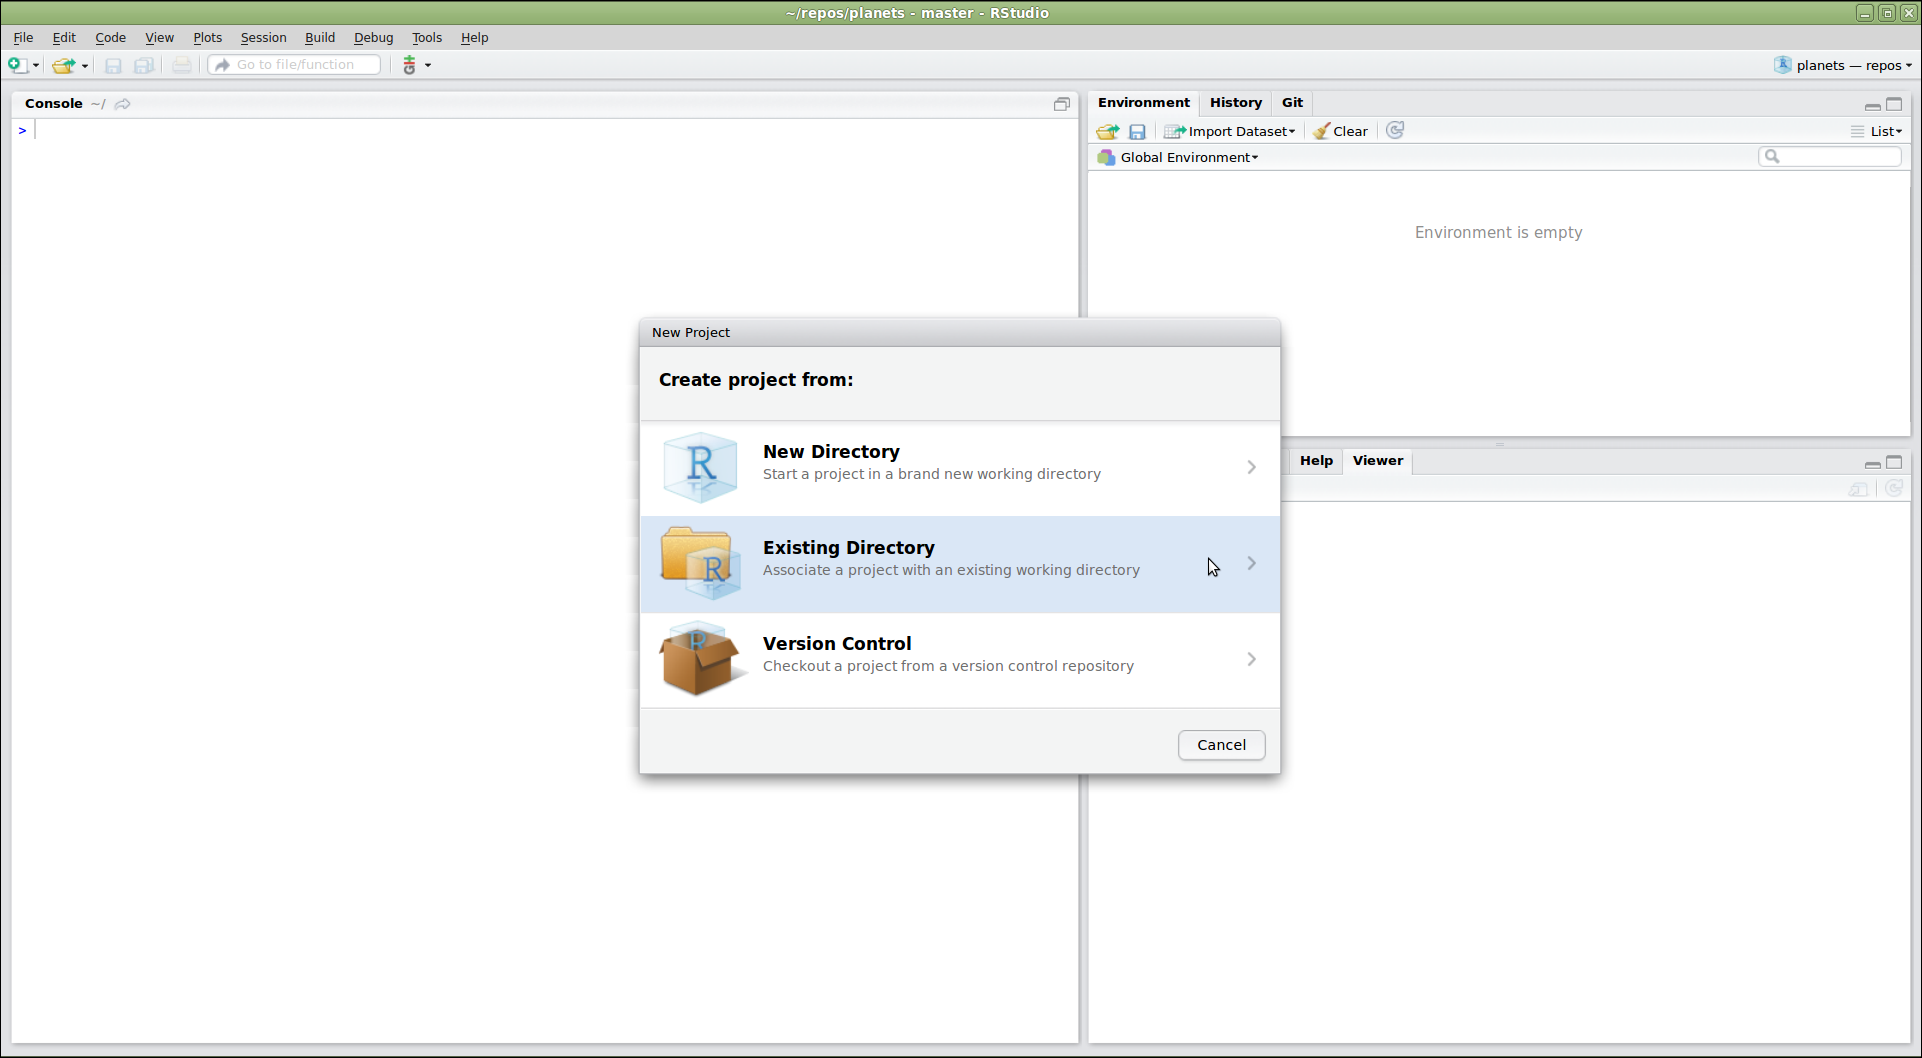
‘Using Git from RStudio’-3
‘Using Git from RStudio’-4
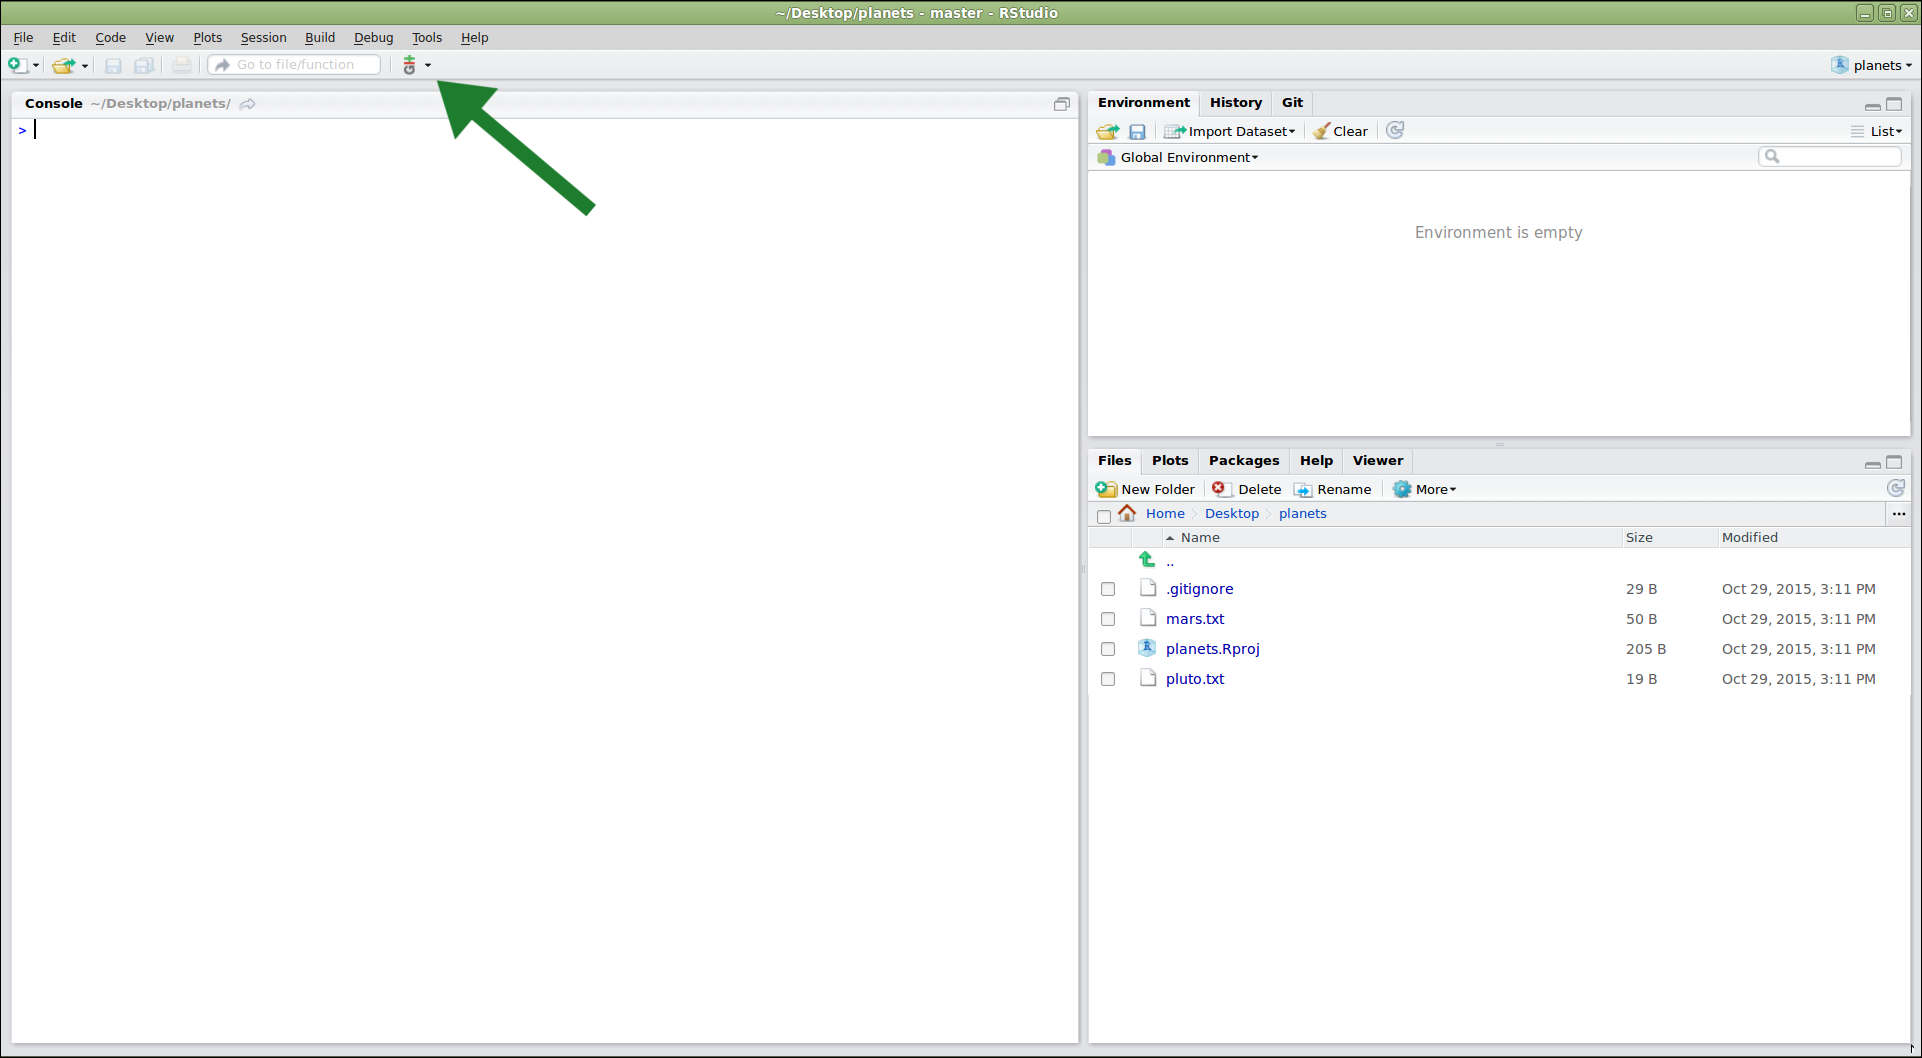
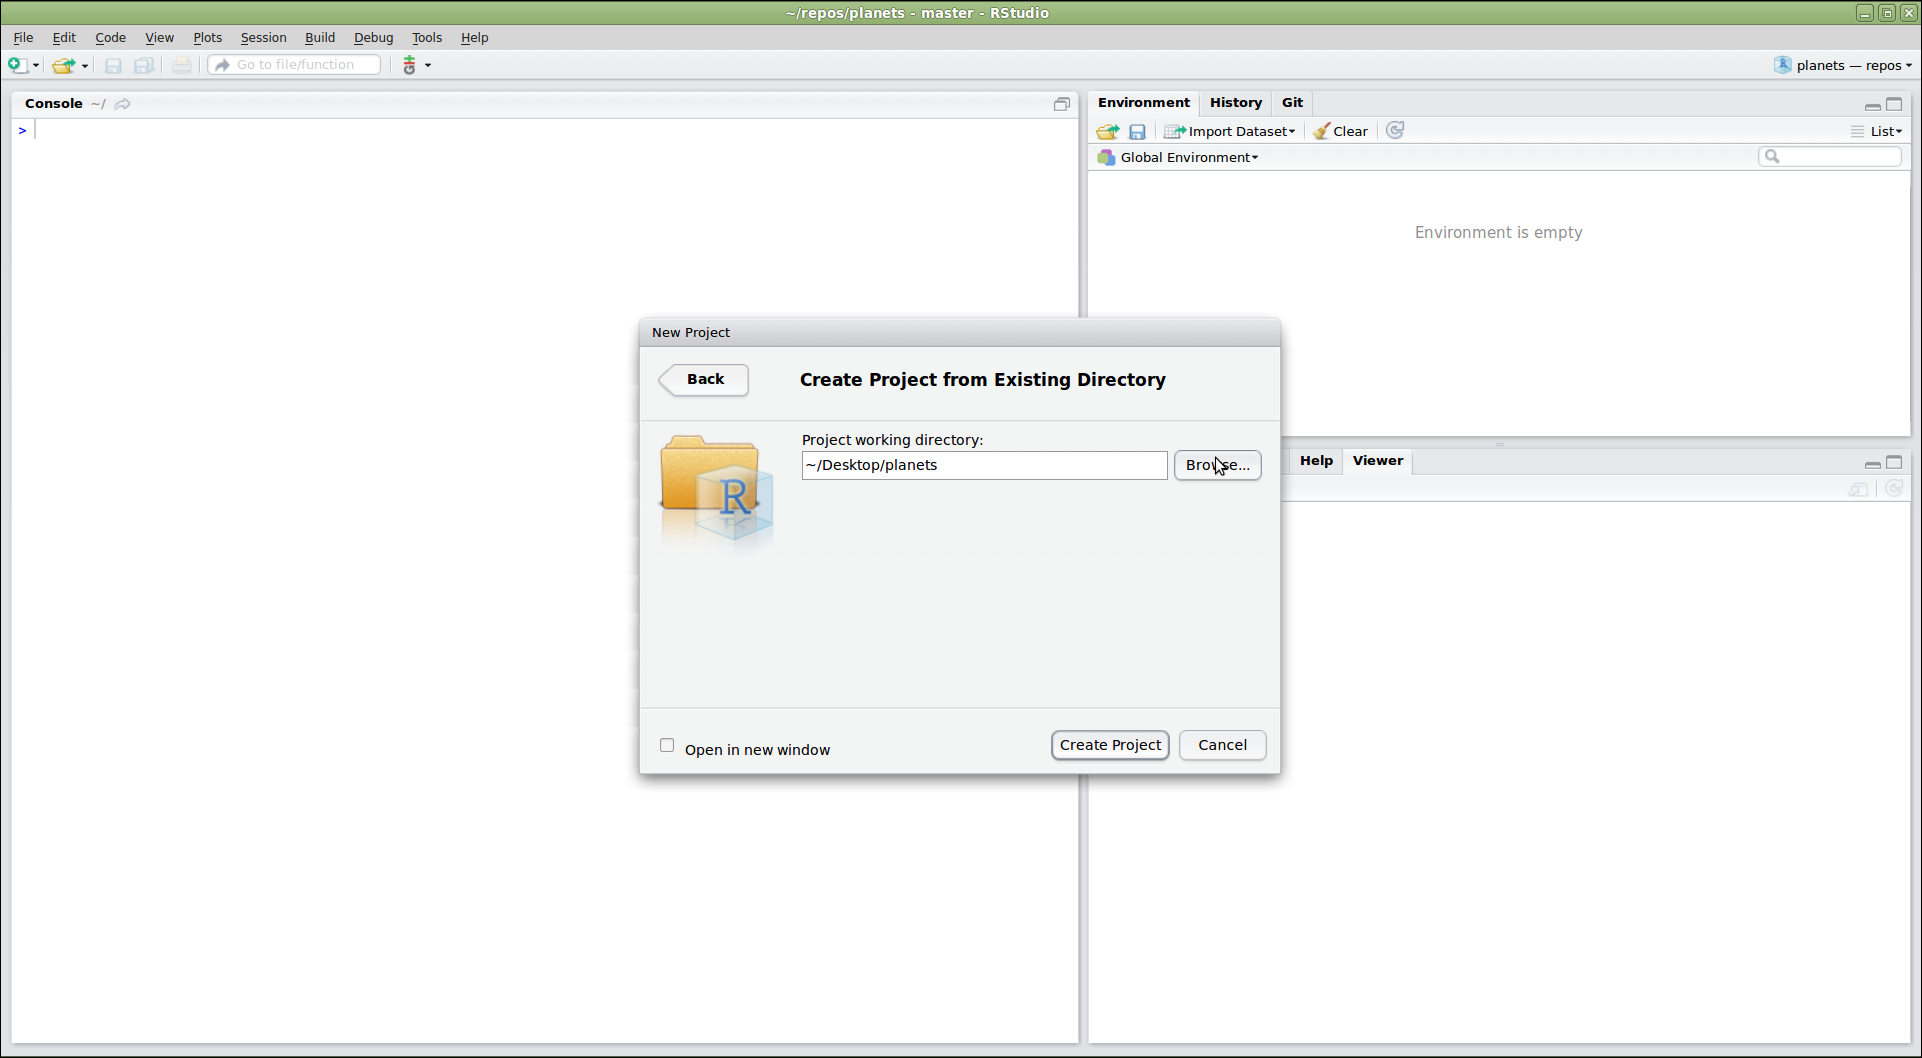
‘Using Git from RStudio’-5
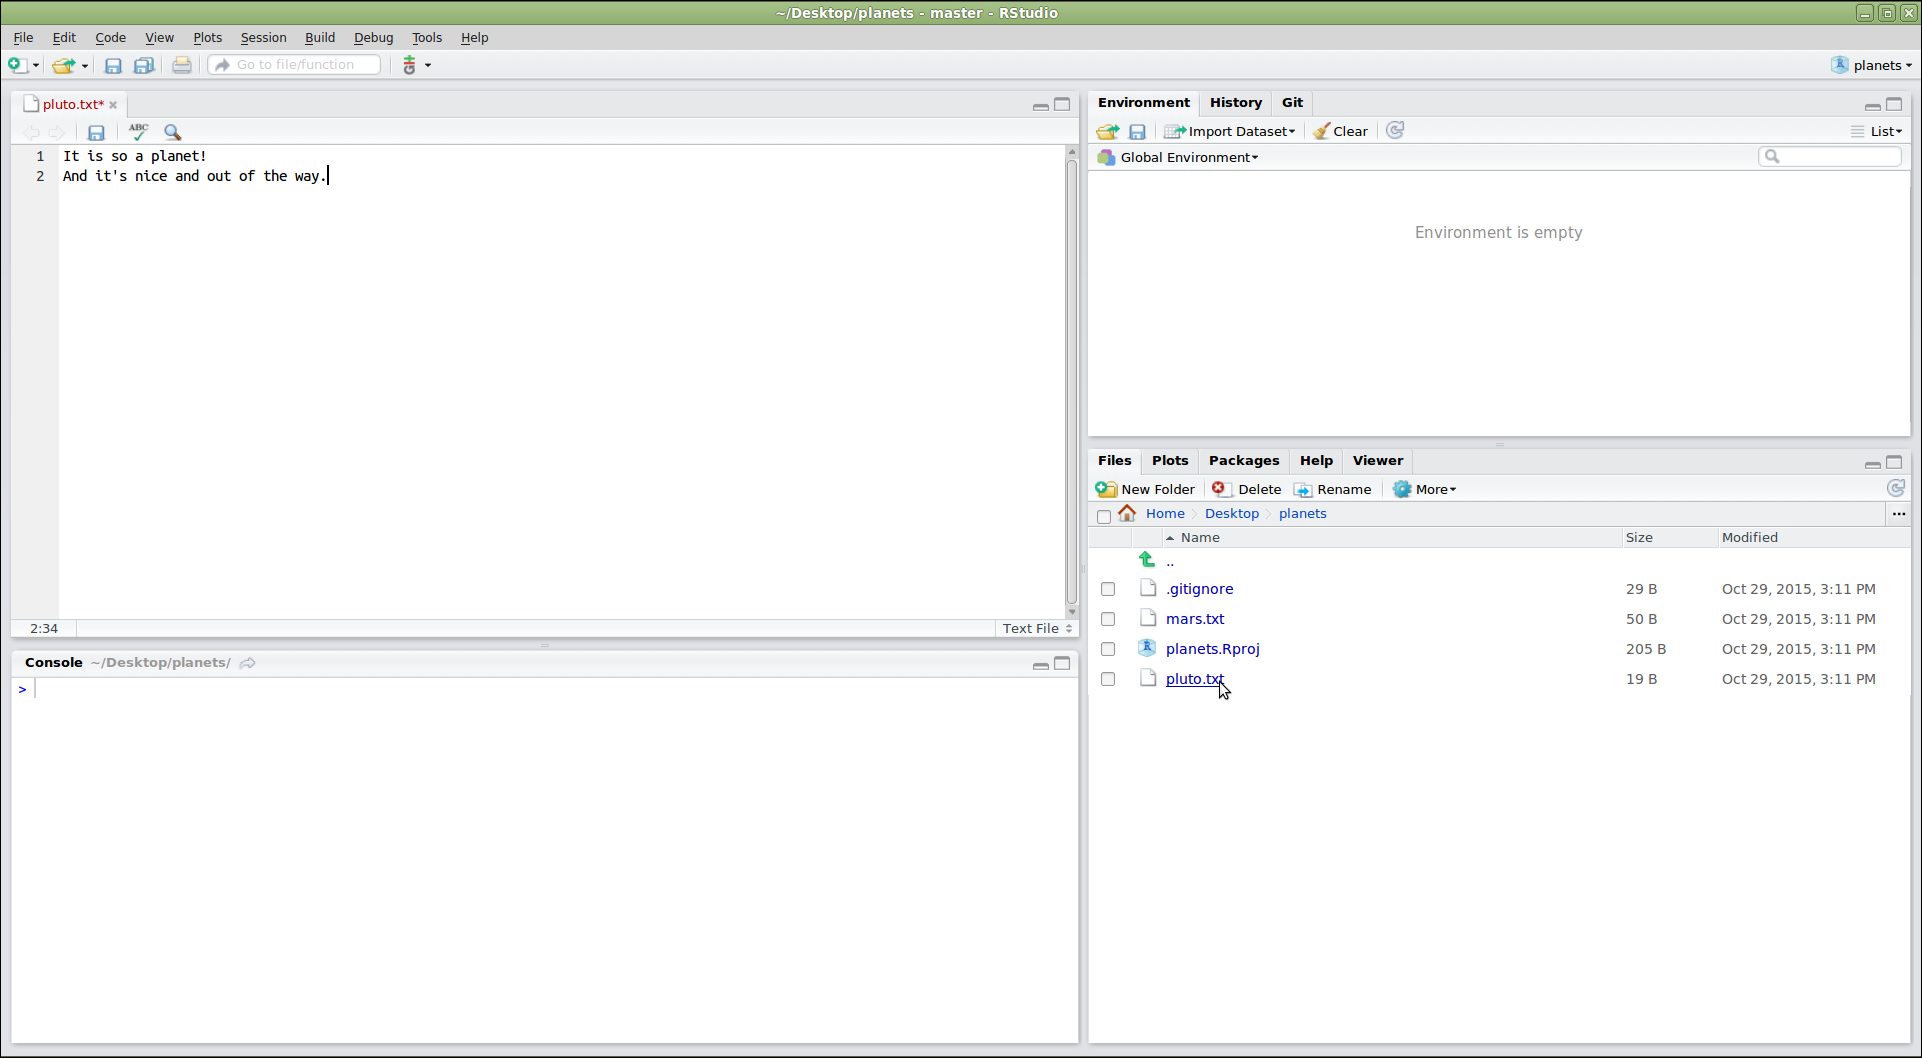
‘Using Git from RStudio’-6
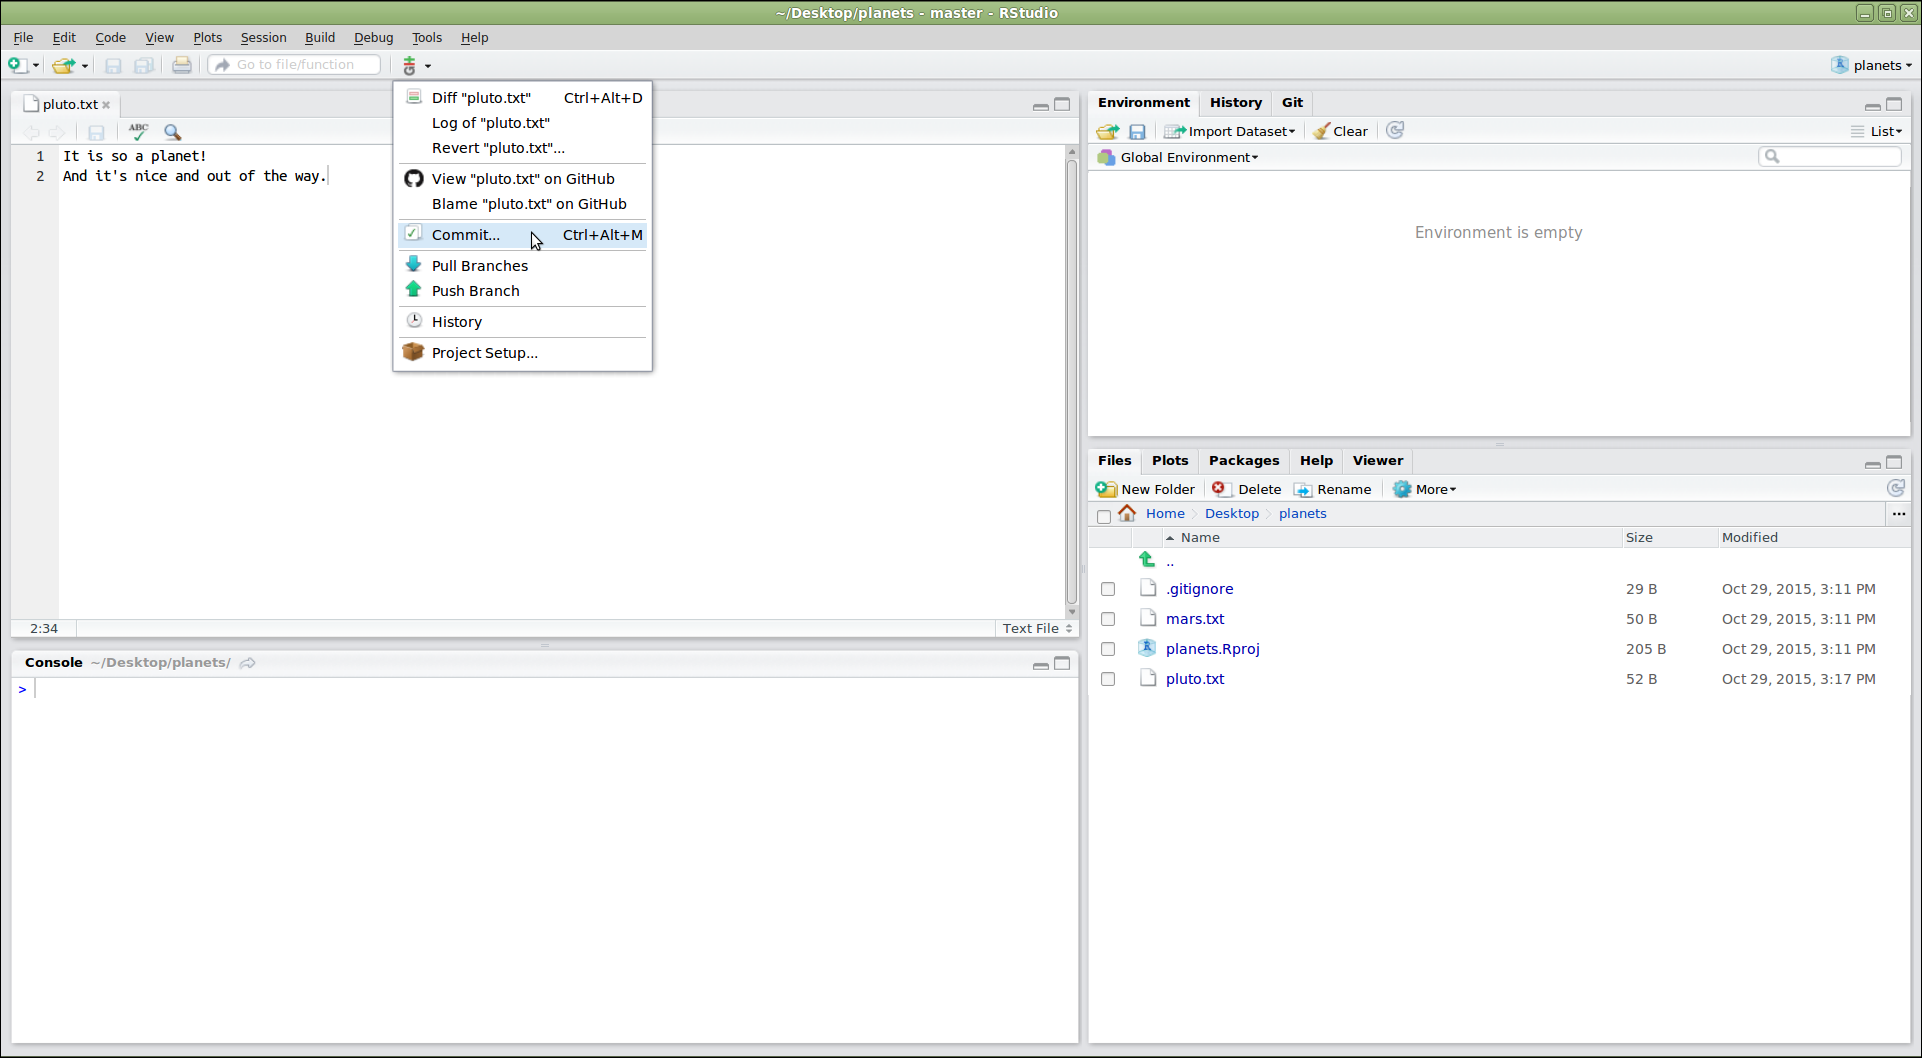
‘Using Git from RStudio’-7
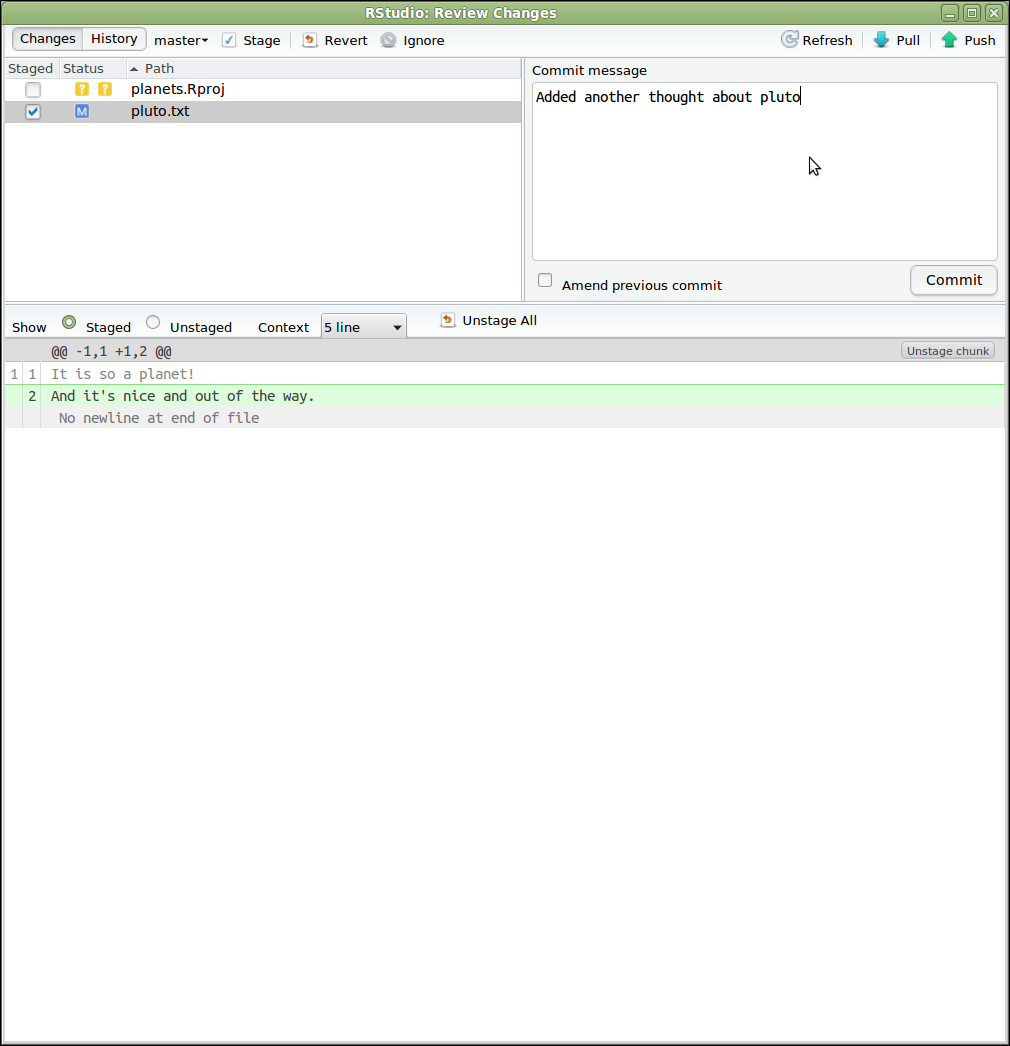
‘Using Git from RStudio’-8
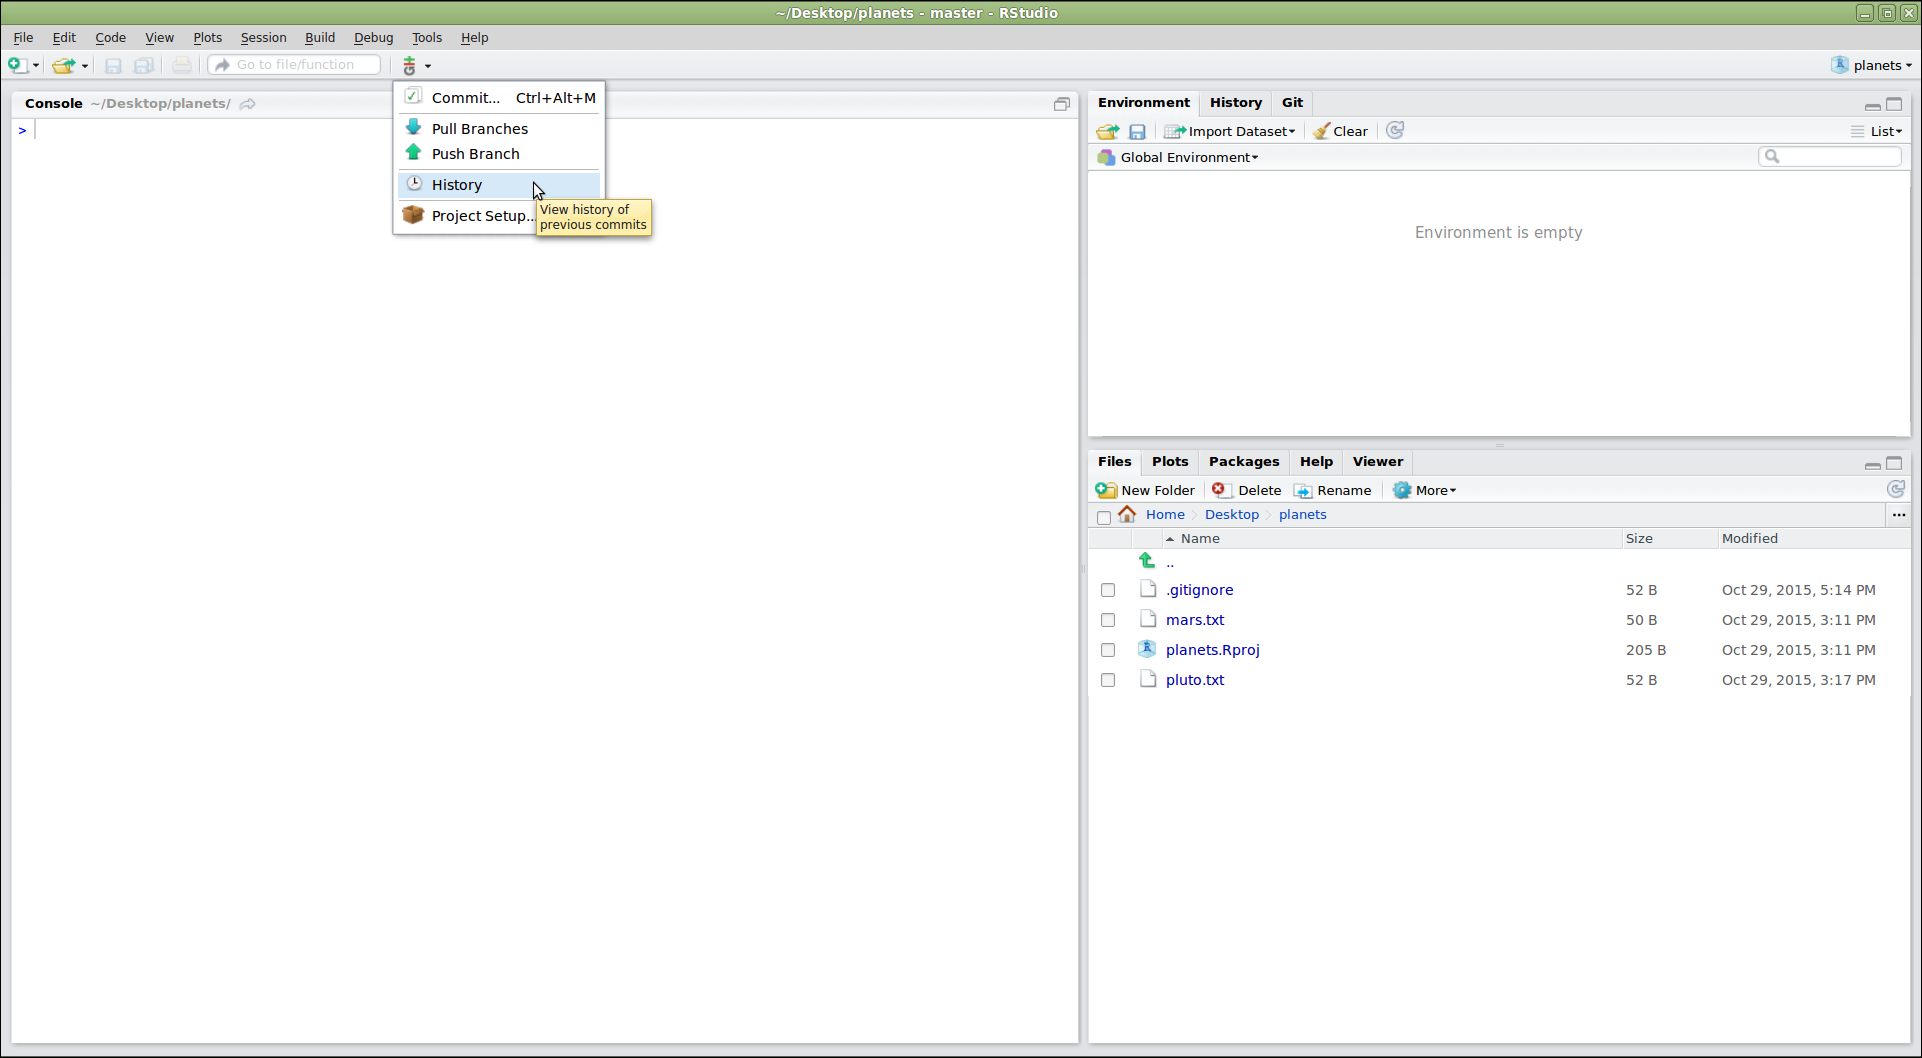
‘Using Git from RStudio’-9

‘Using Git from RStudio’-10